Imperial Assault LED Lightsaber

I recently came across an Imperial Assault board game customization that left me speechless. It was an Imgur post that detailed the conversion of a drab Imperial Assault miniature into a light-up, LED lightsaber wielding master piece. I’m excited to see this process applied to more existing and future miniatures in the Imperial Assault board game lineup. Check it out for yourself and be amazed.

Items Required
- LilyPad Coin Cell Battery Holder ~$3
- Games Workshop (Small drill) ~$25
- 1.6 mm or 1/16in Fluorescent Acrylic rod
- CO402W Surface Mount LED
- 620 Ohm Resistor ~$0.40
- Games workshop “Green Stuff” ~$9
- Blue-Tac ~$3
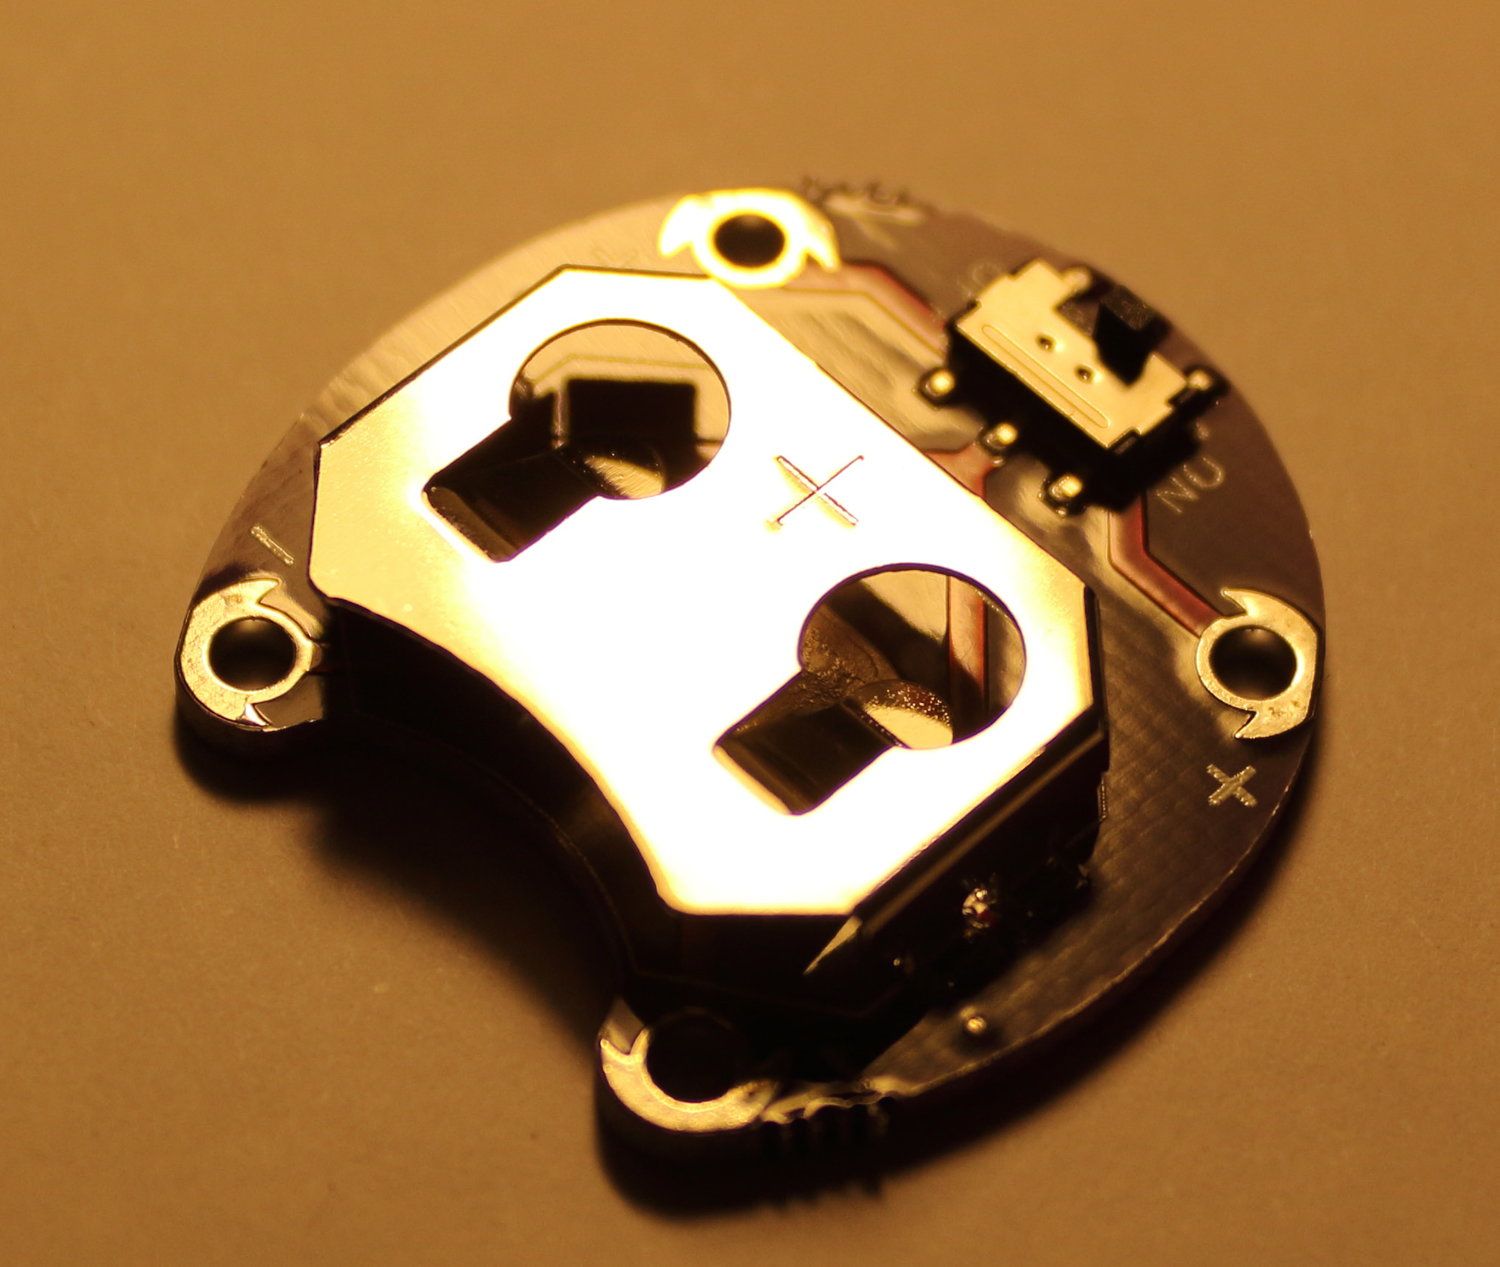
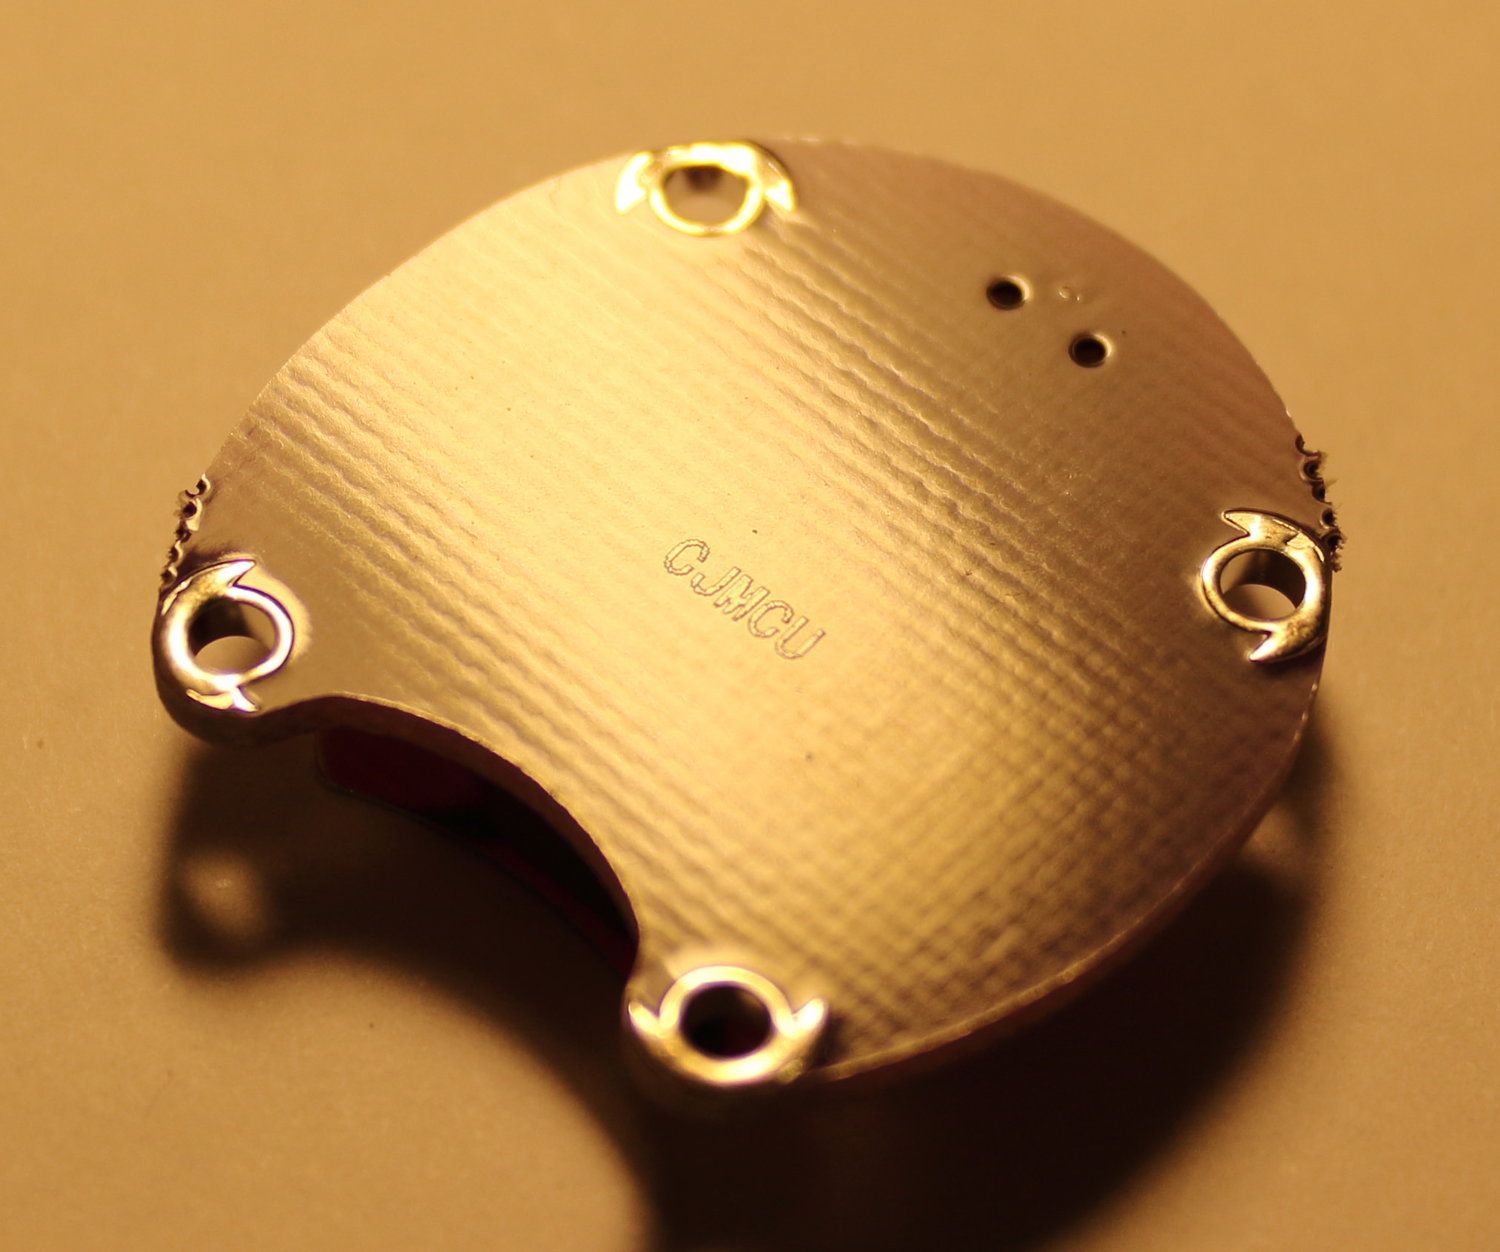
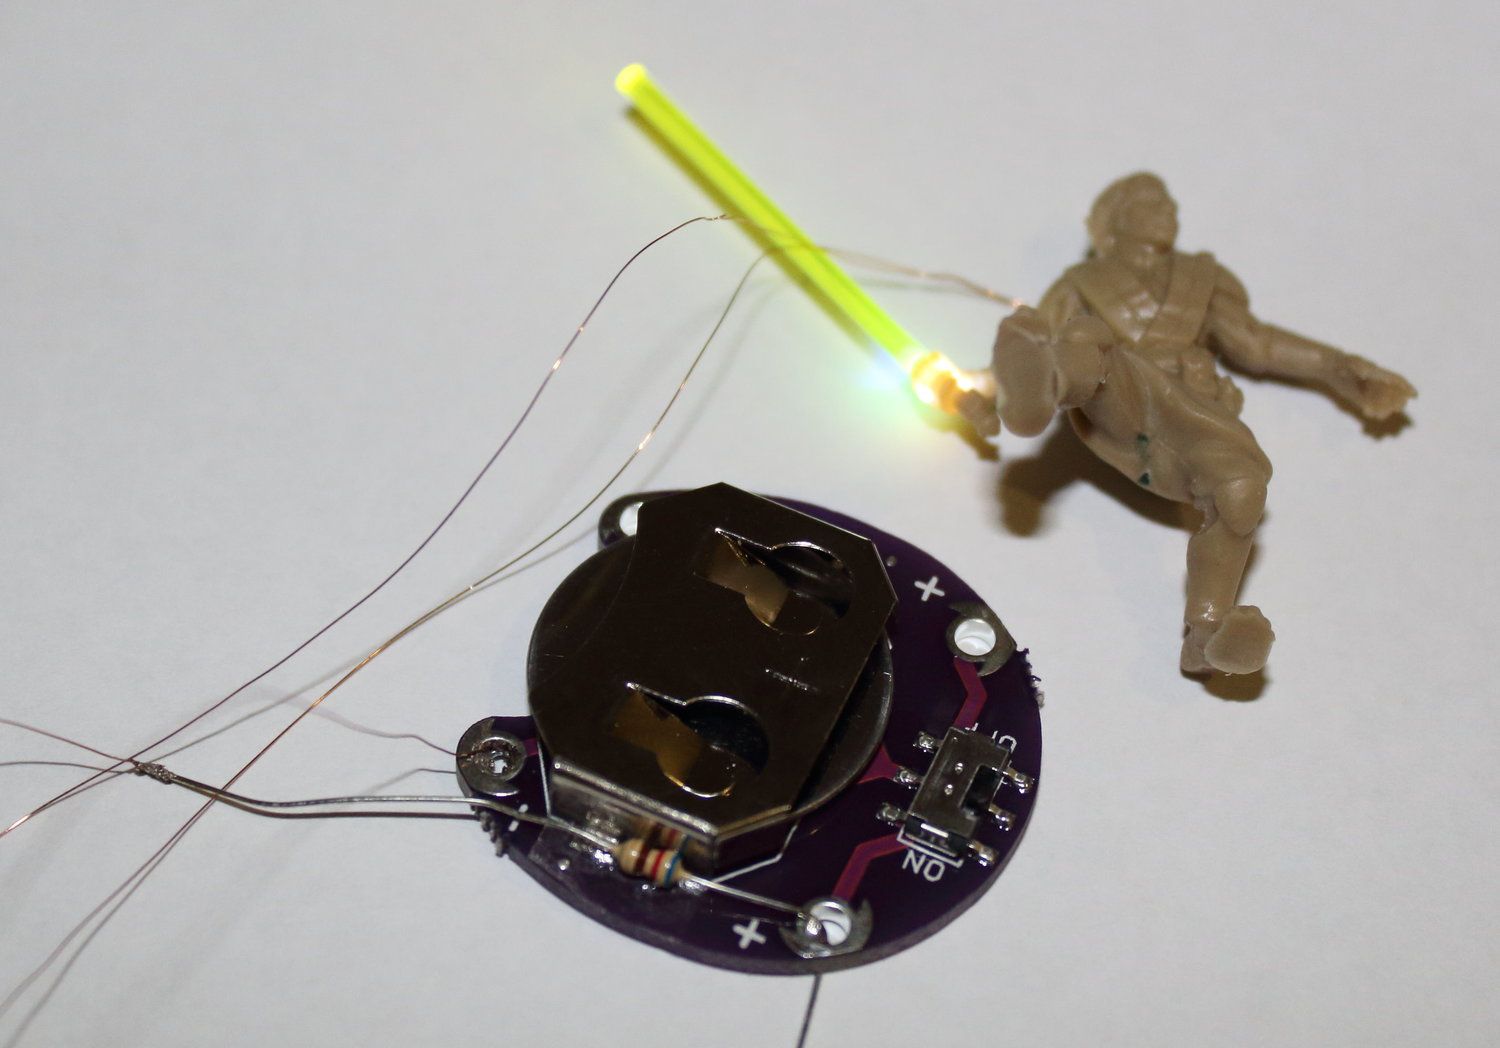
Powered Base
The LilyPad Coin Cell Battery Holder is the power source container for this project. It will hold the widely available CR2032 battery which in turn will power the LED lightsaber. Plus, the LilyPad has the added bonus of a built in on-off switch. The power unit will be attached to the bottom of the miniature base near the end of this build. The addition of the battery holder adds a bit height to the miniature, but doesn’t effect its stability on the table.
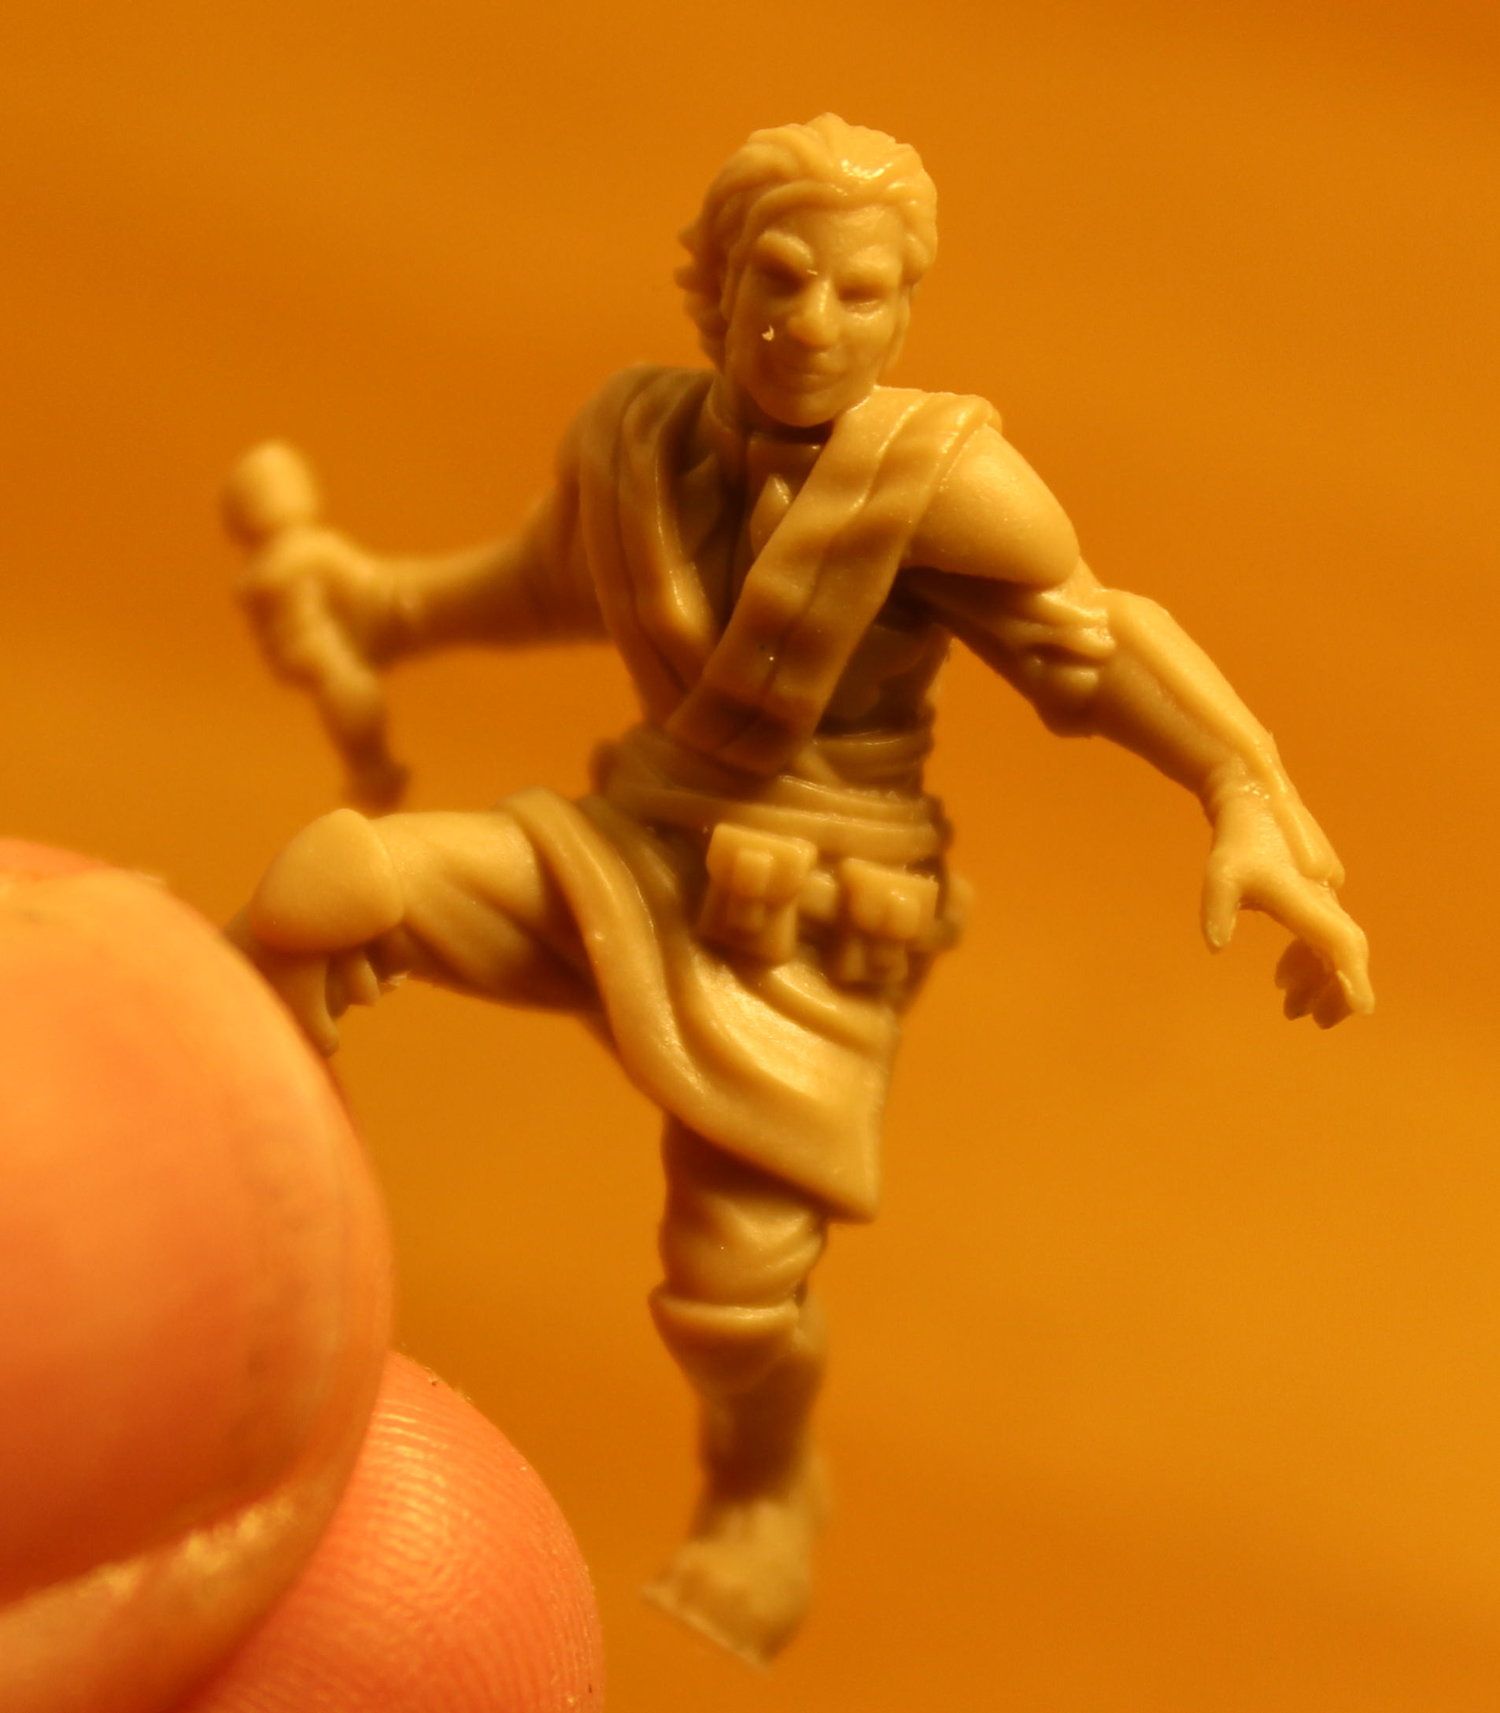
Miniature Modification
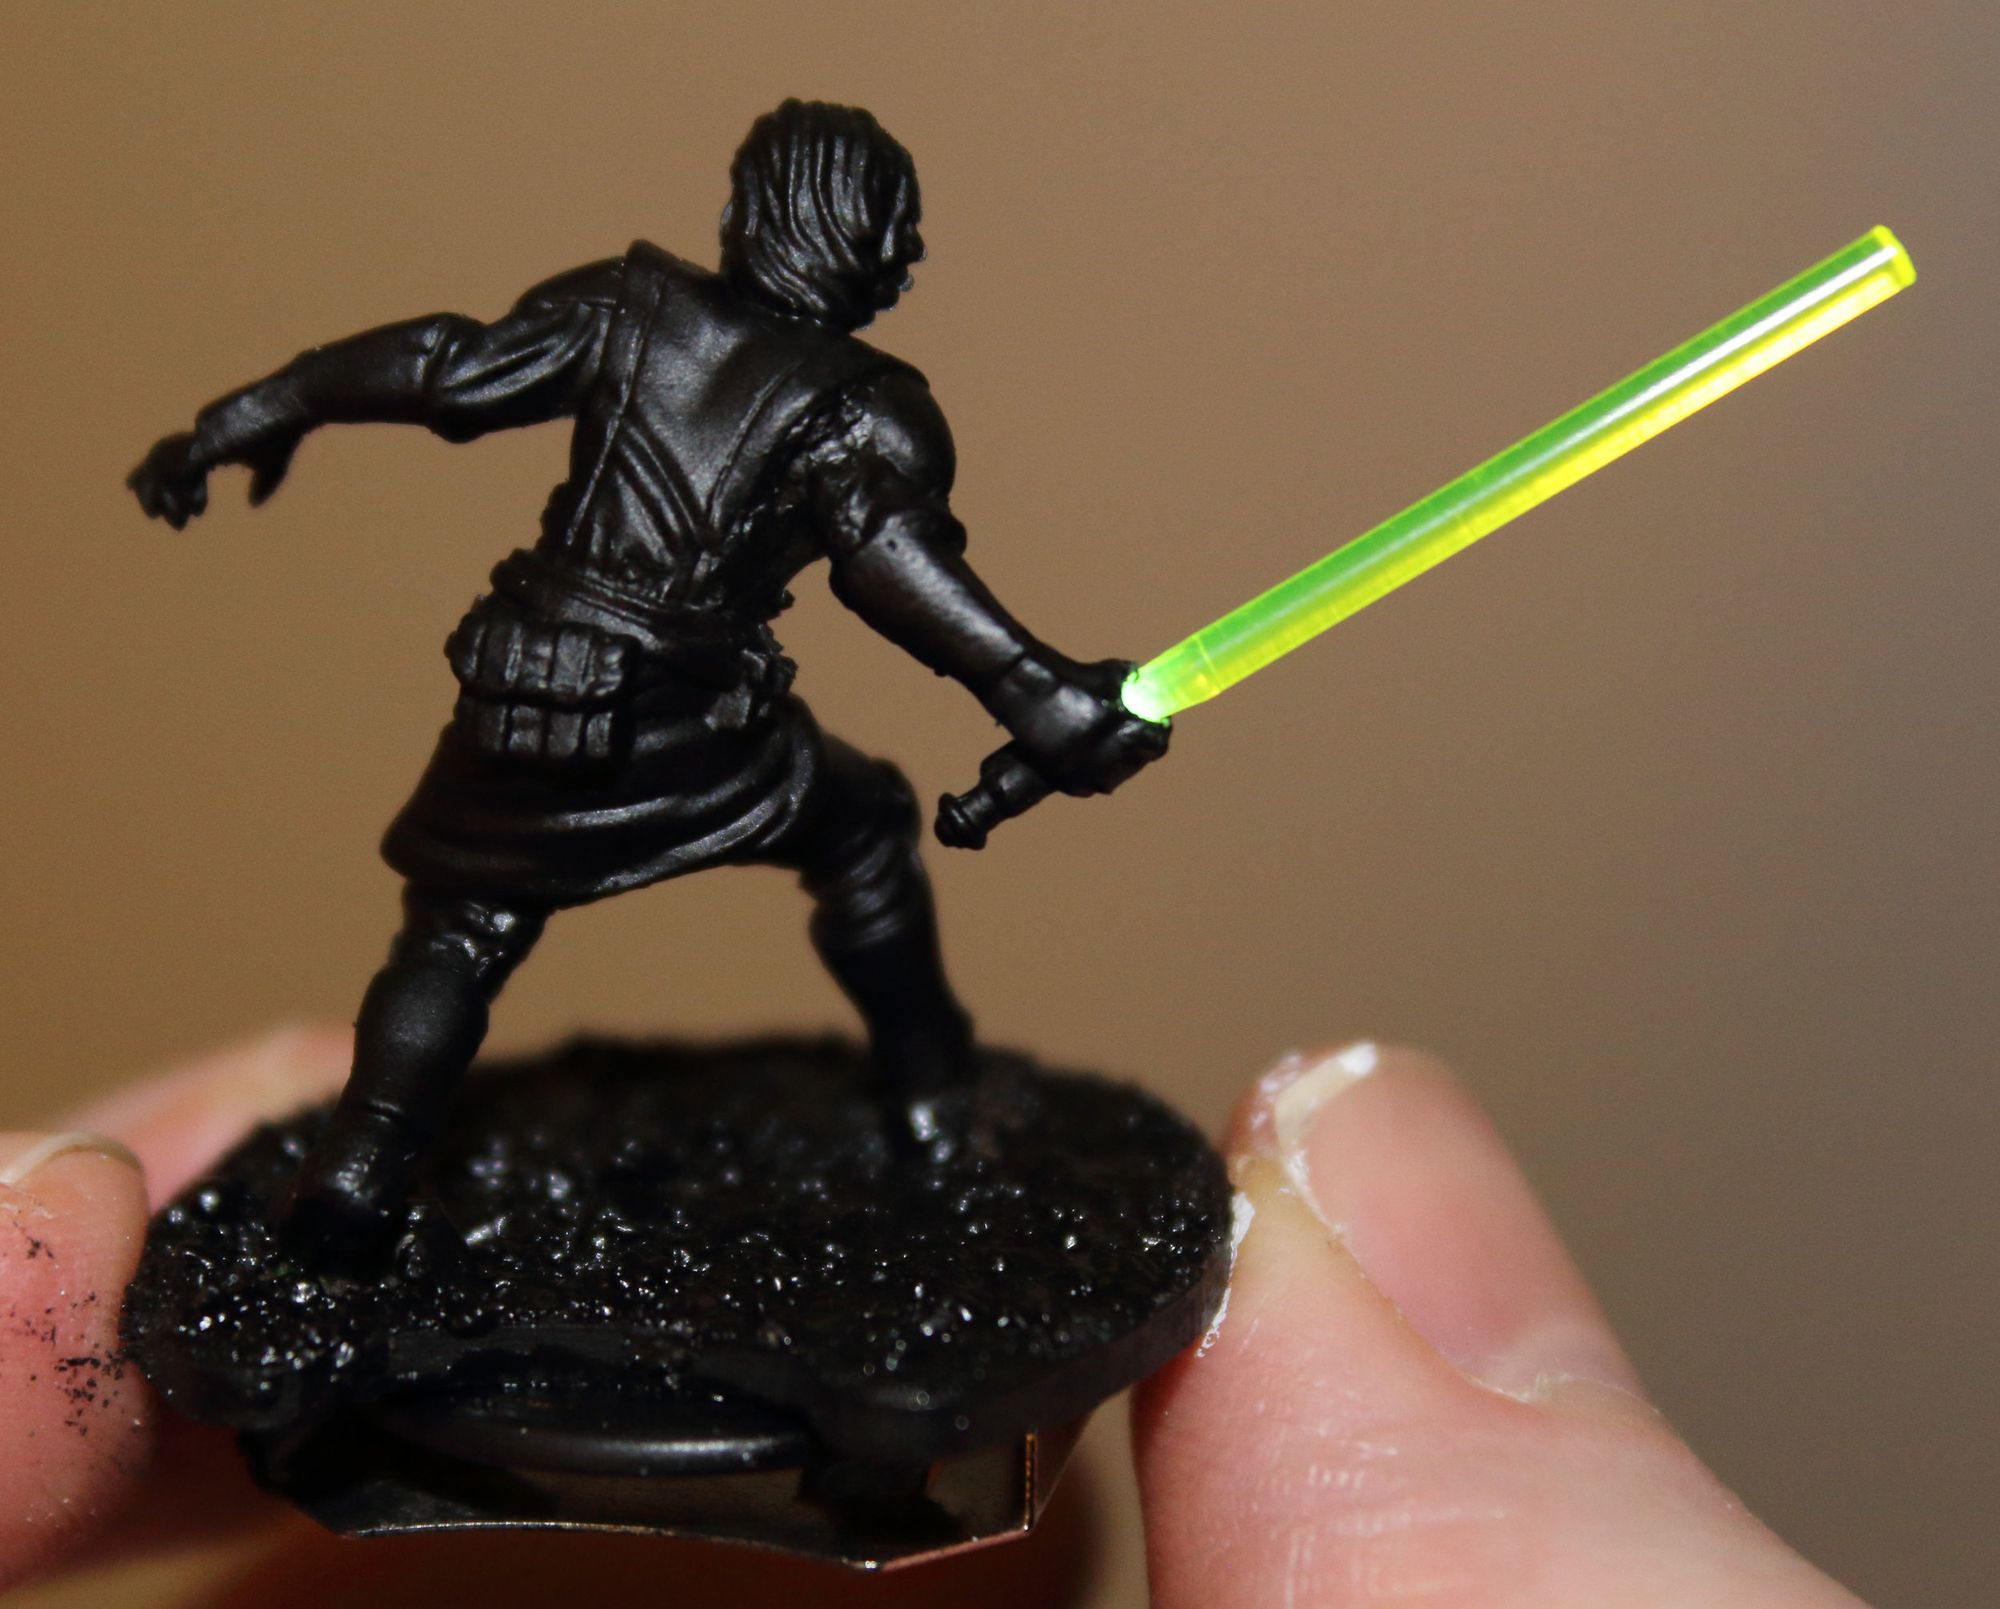
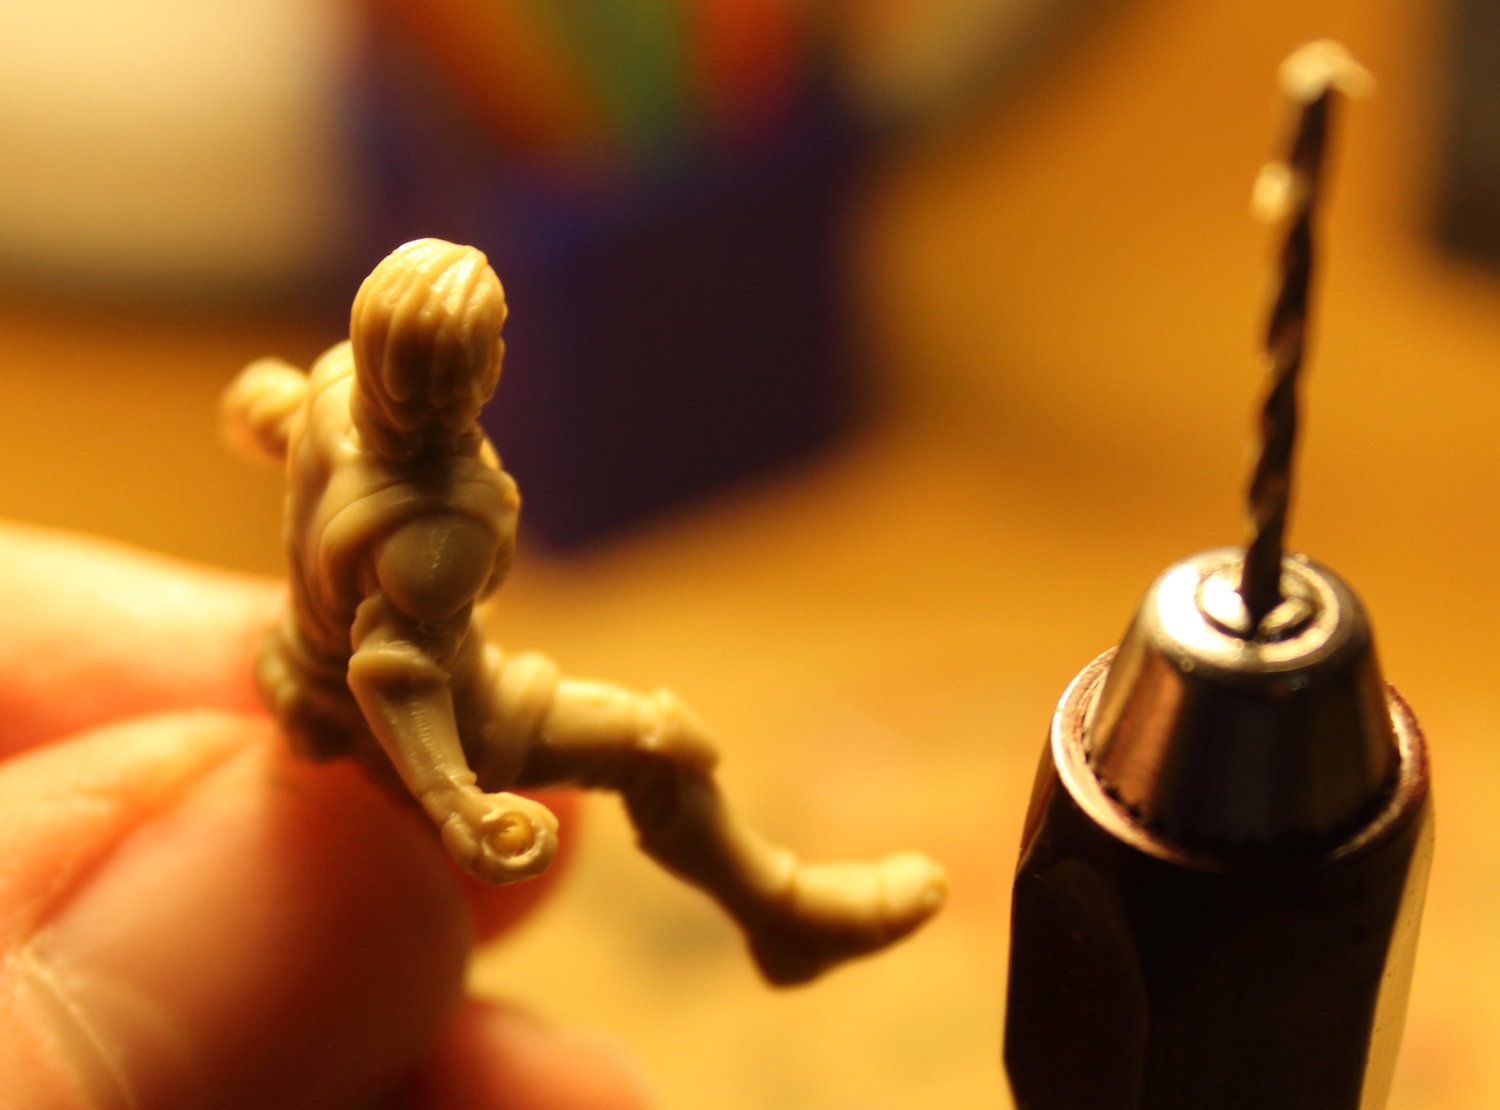
The Davith was chosen for this project. First step you’ll need to cut him off his original base. Next cut off his standard lightsaber blade. Now you can drill the first hole through his forearm — from hand to elbow. Follow this, by carefully drilling down through the saber to connect to the previous hole.
Lighting The Lightsaber
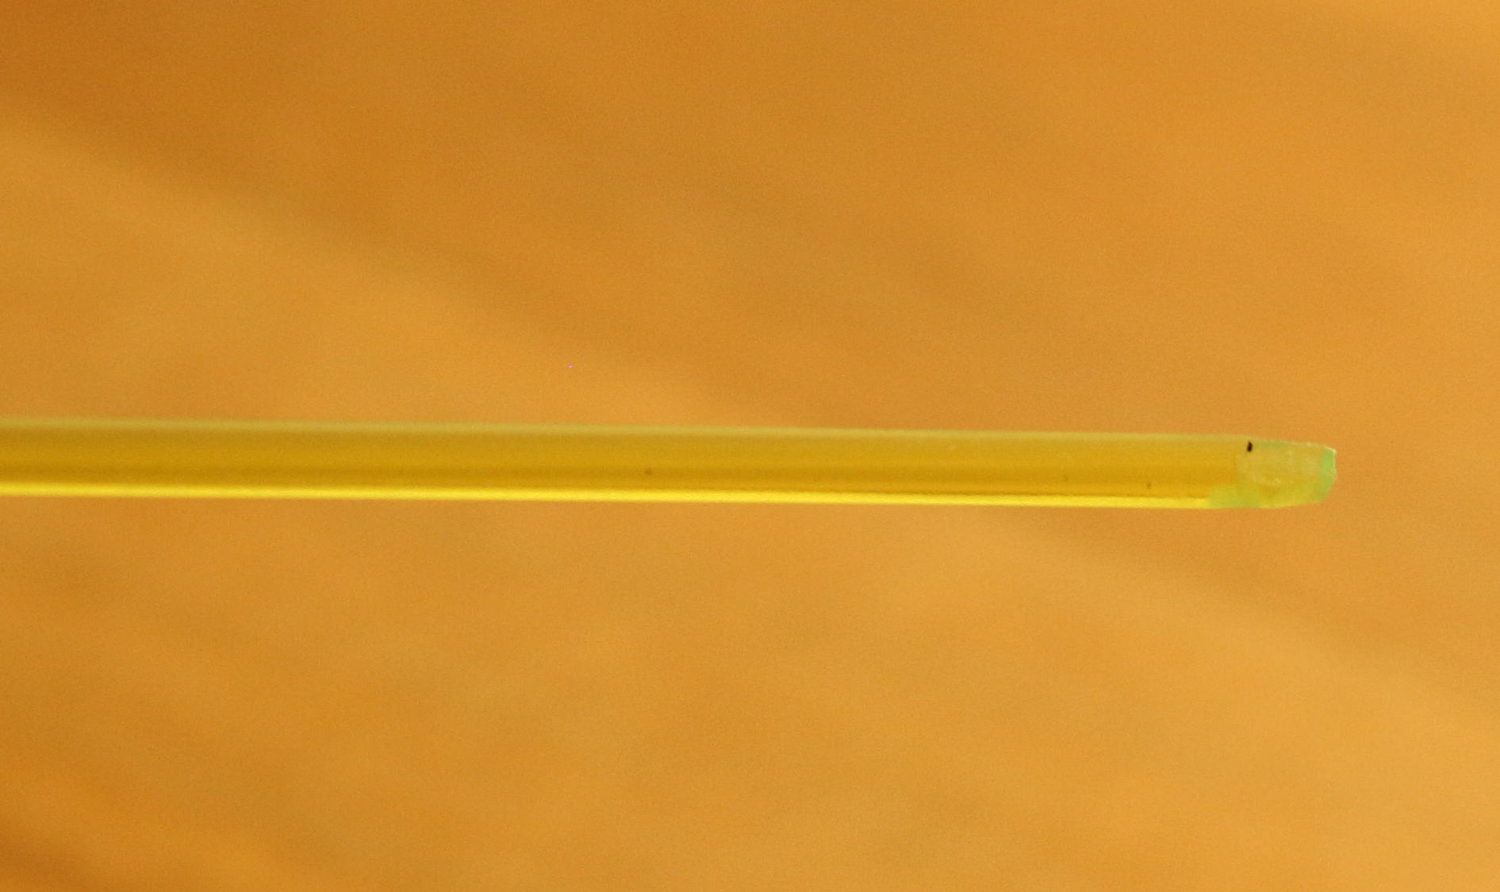
Now that you have the miniature removed, cut a portion of the fluorescent acrylic rod slightly longer than the removed lightsaber blade. Make sure you cut it slightly long, you will need to sand one end down and inserted it into the miniature’s empty hand.
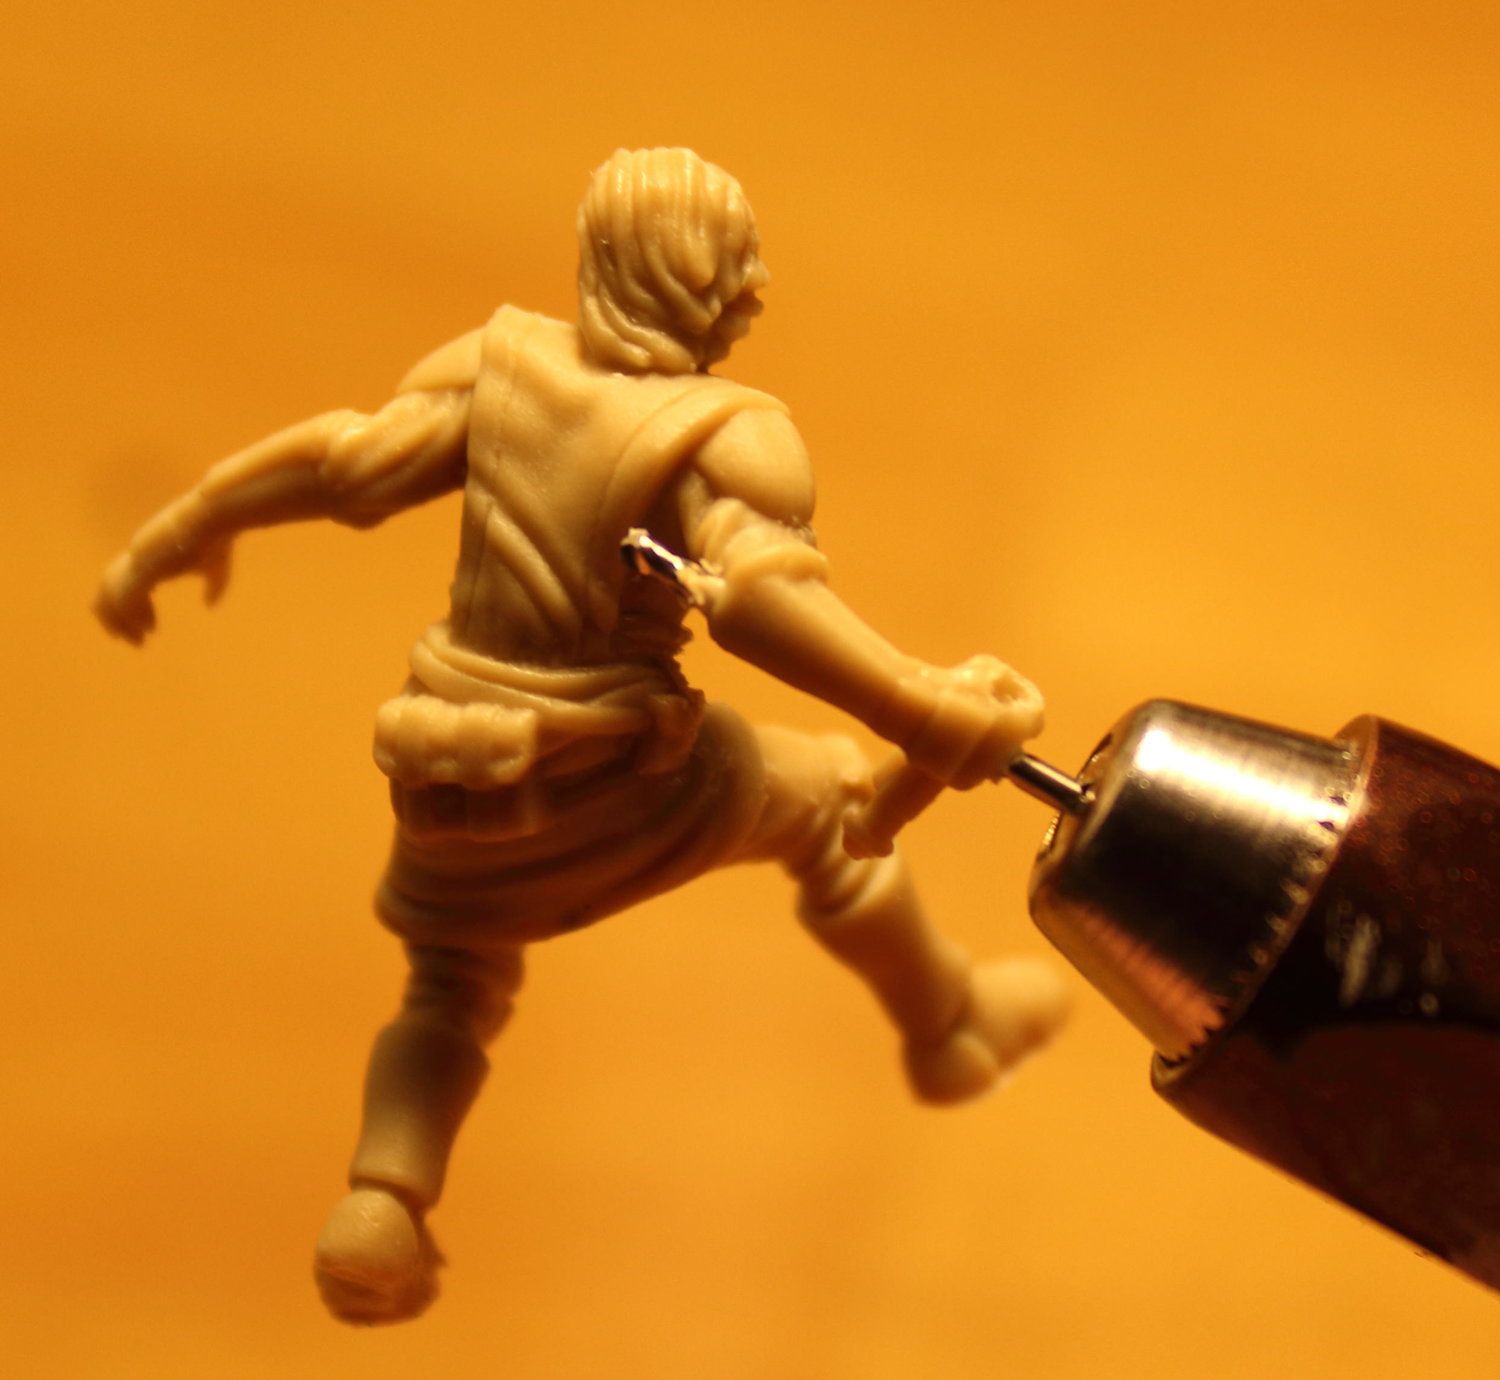
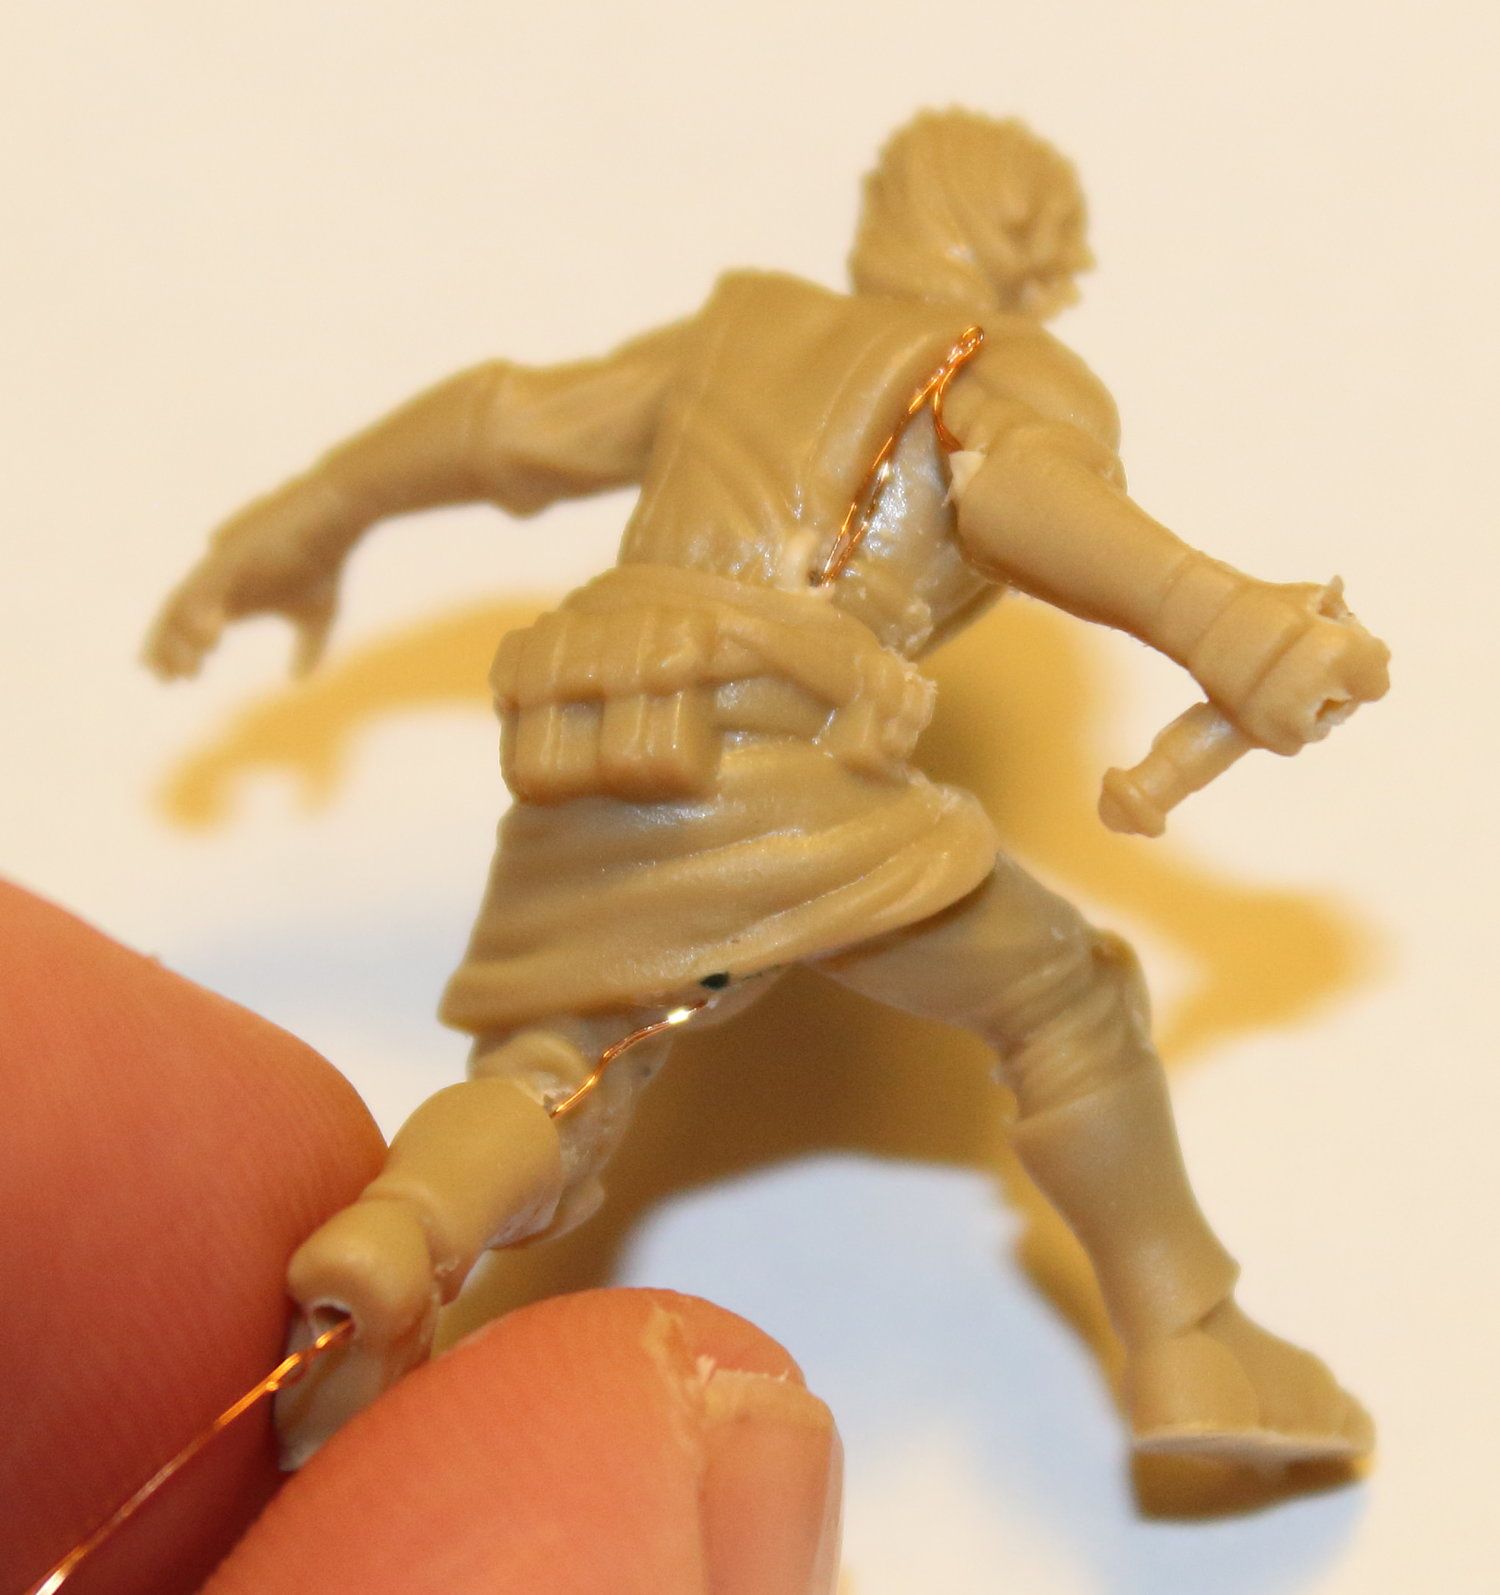
Now, drill two more holes. The first hole should run from the top of the torso to the crotch. The second hole should be drilled from the back of the Davith miniature’s left leg and out through his heel. These holes will allow the LED wiring to be discreetly run from the power source below to the final position of the LED in his fist.
Threat the wire through the miniature hand and out its elbow until you can fully insert the LED (C0402W surface-mount LED) into his hand. Note, this particular LED was chosen for its low cost (~$2) and because it is prewired. The wires are coated in a thin layer of plastic, so touching the two wires together doesn’t short the LED. The heat burns off the plastic where you’re soldering.

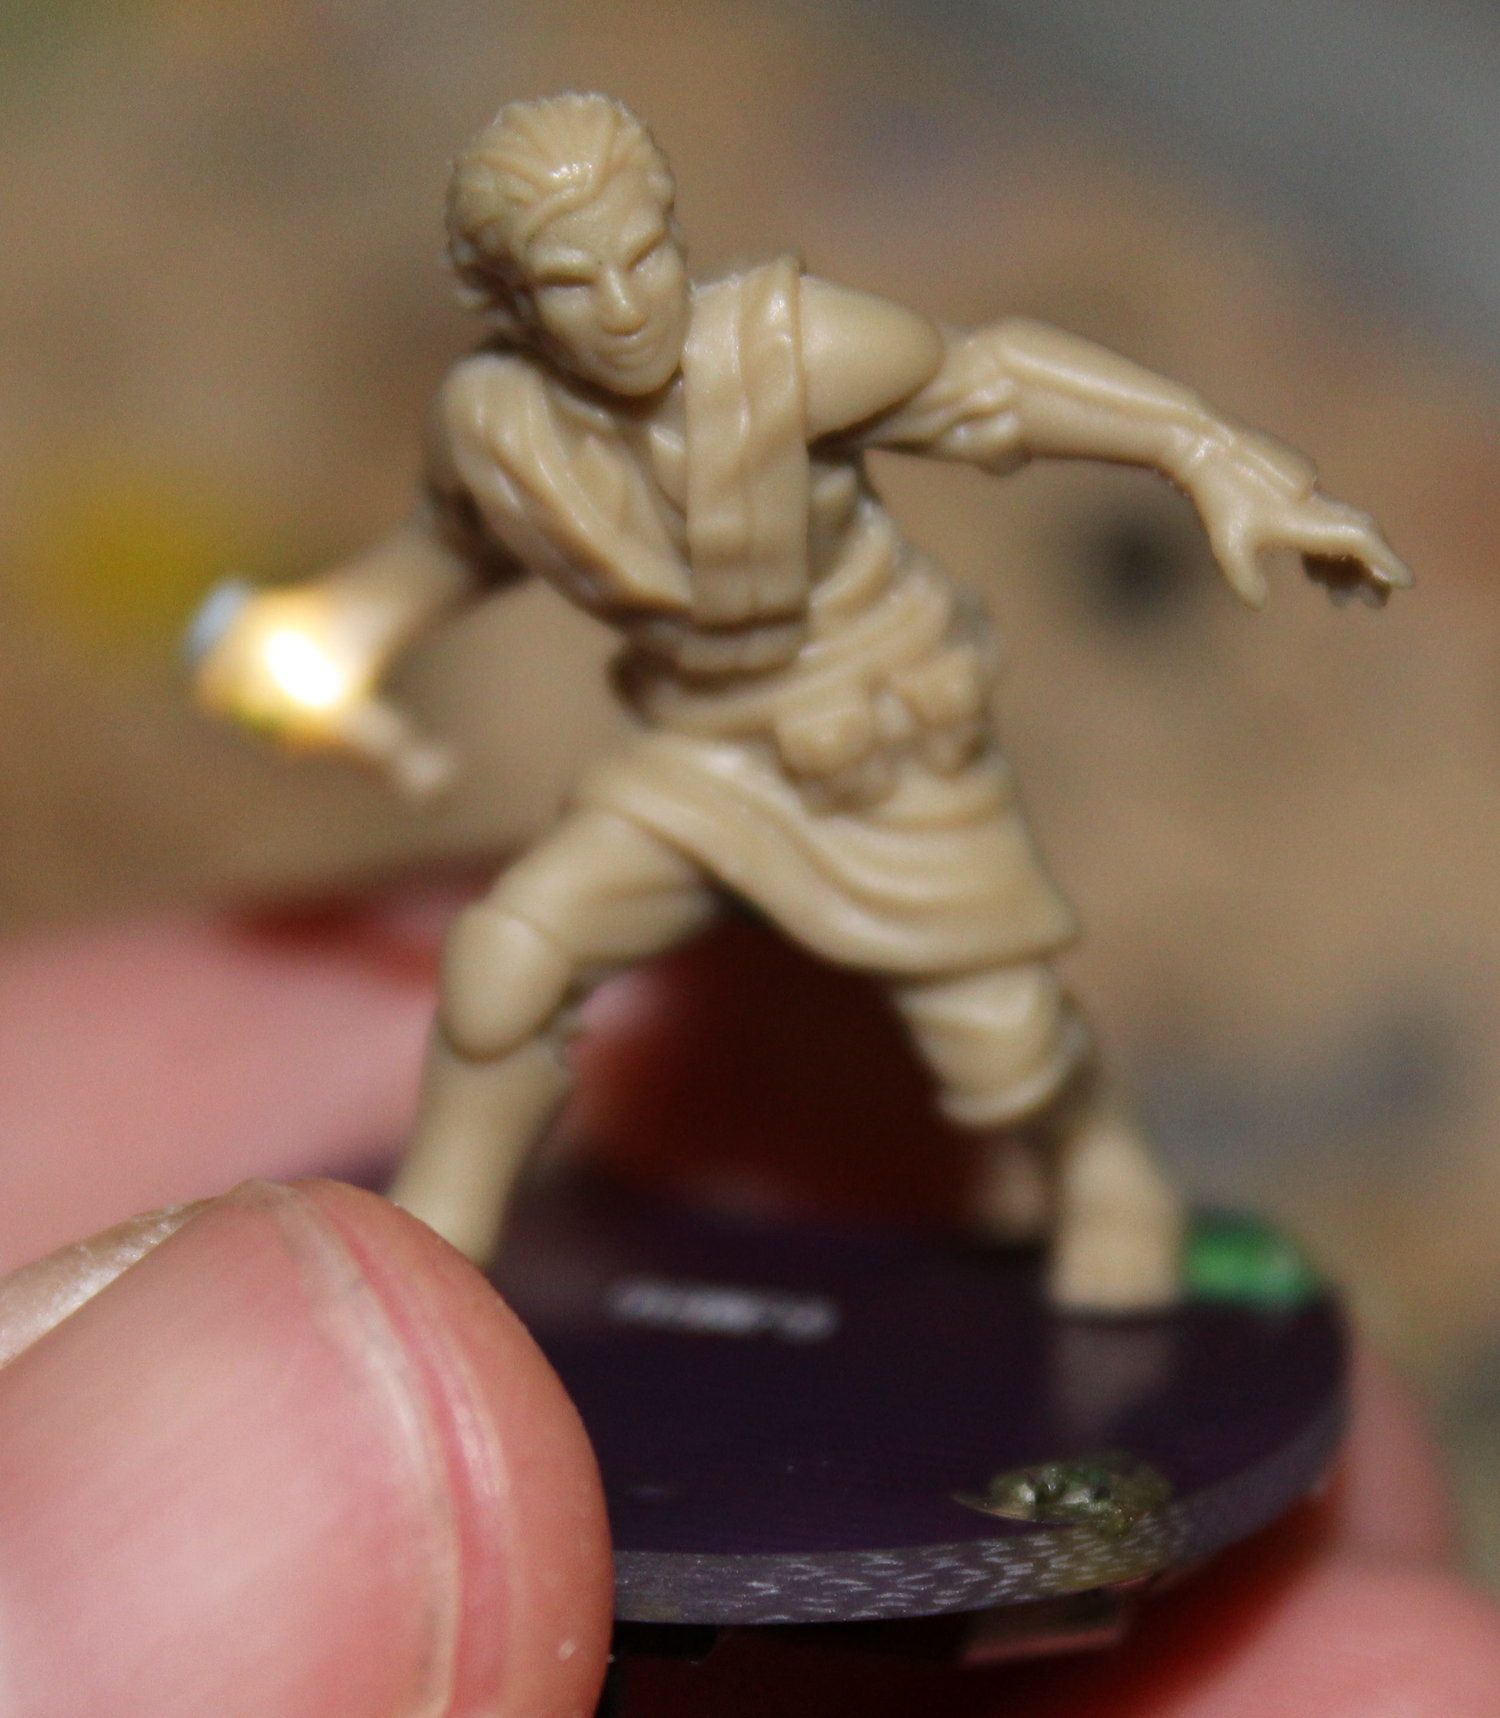

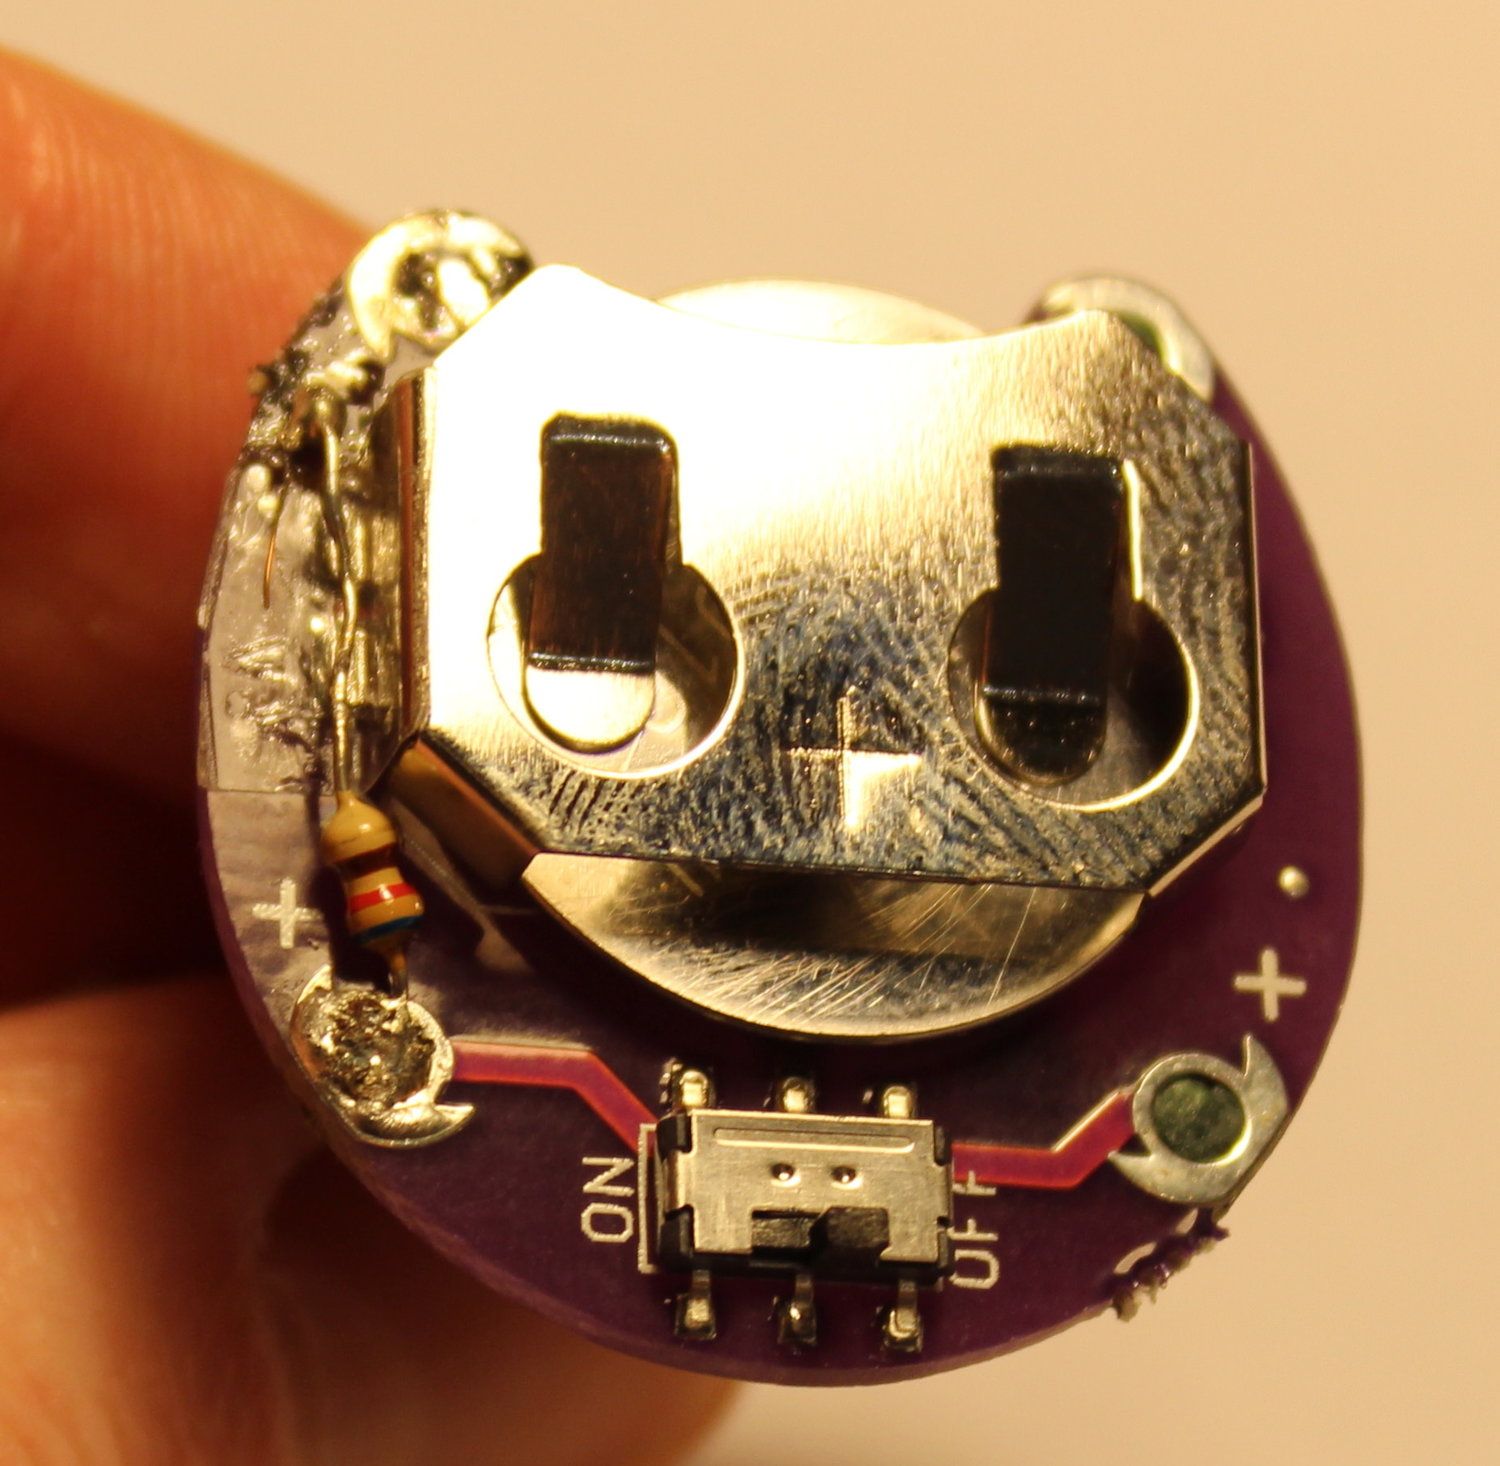
Once you finish threating the wire be sure to conduct a quick test to confirm nothing is damaged. Make it a quick test or else you risk damaging the LED before you add the resistor, which is the next step. Now wire in a resistor (in series) with the LED. This will keep the LED from being damaged and burning out quickly. The model in this example was created using a 620 Ohm resistor, but you could go as low as 22 Ohms if you want to have an blindingly bright lightsaber.
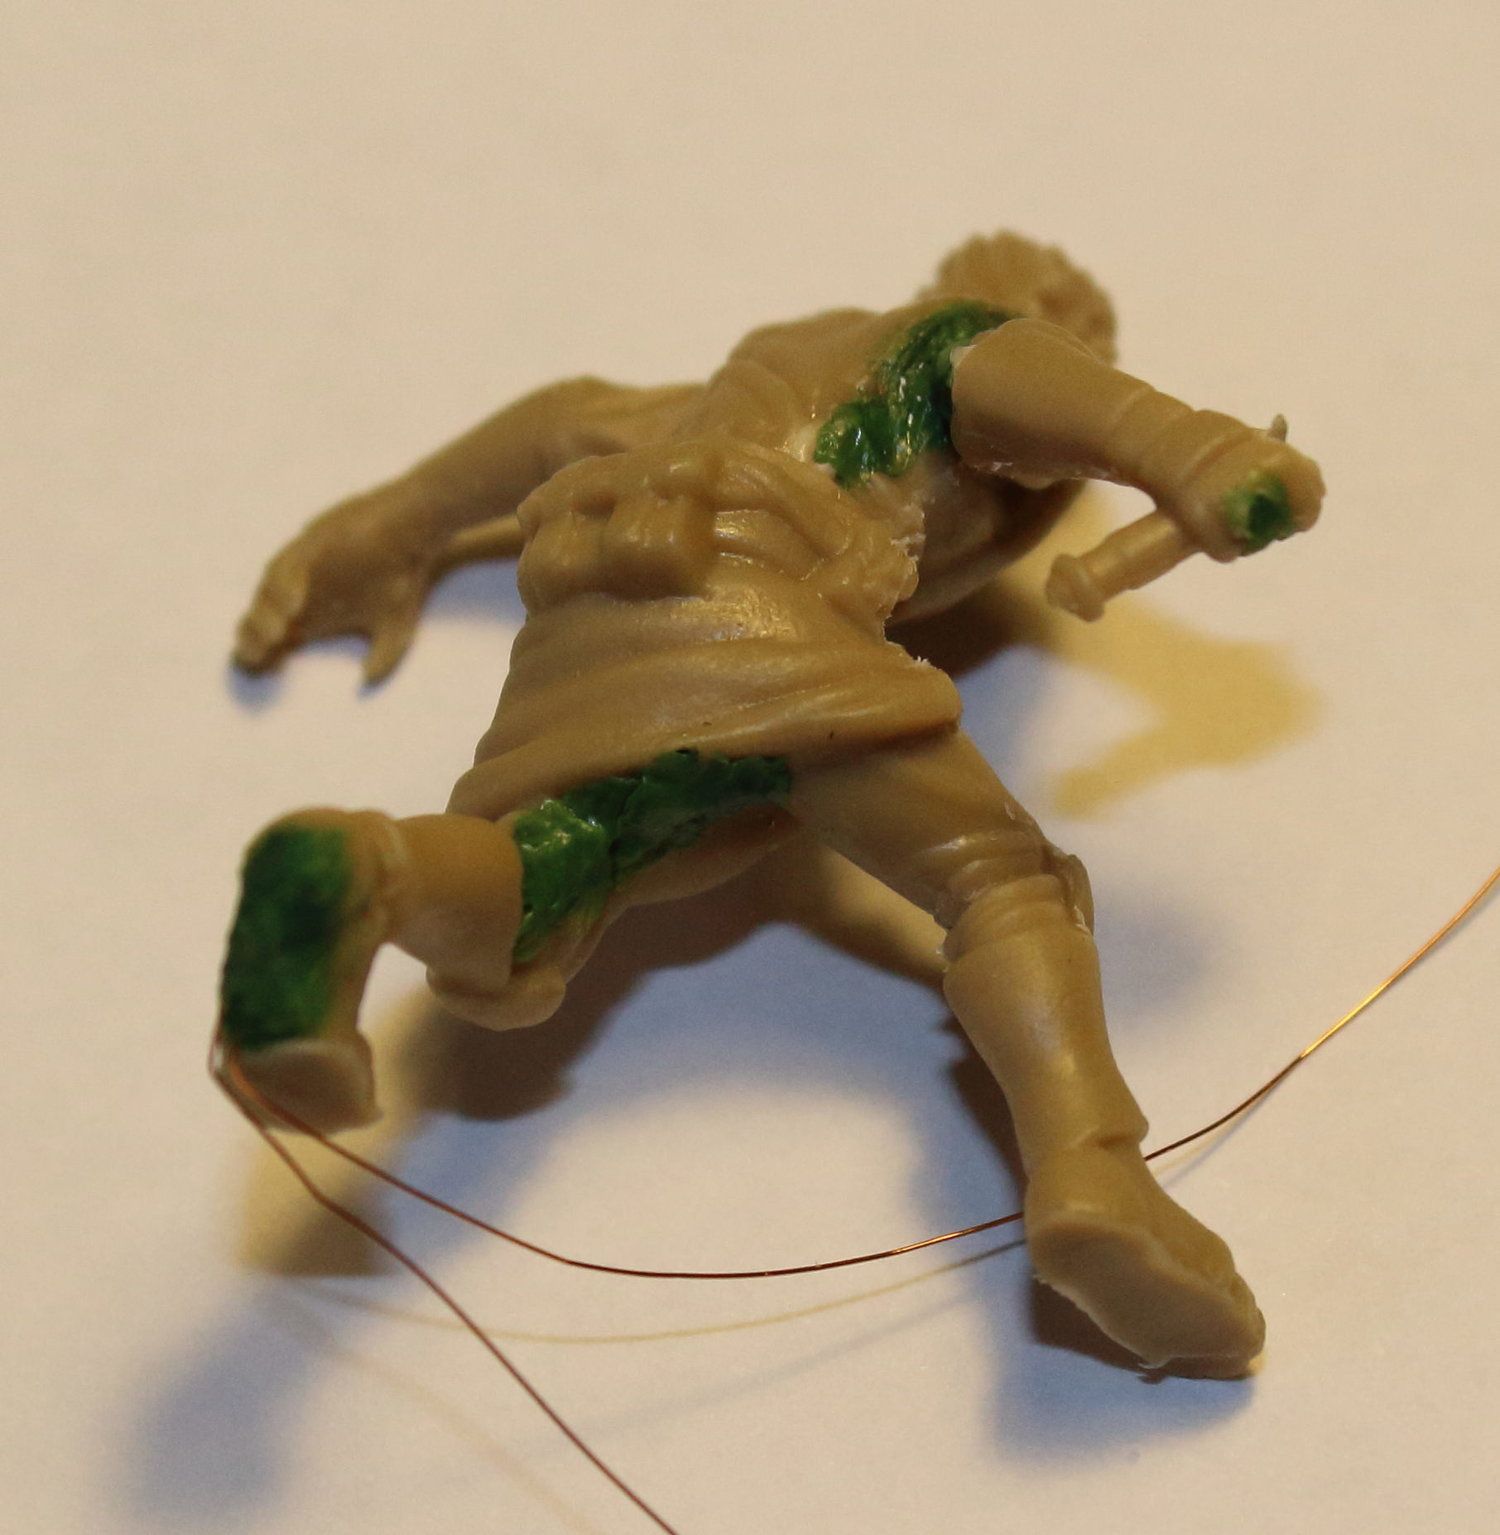
Time To Visit A Bacta Tank
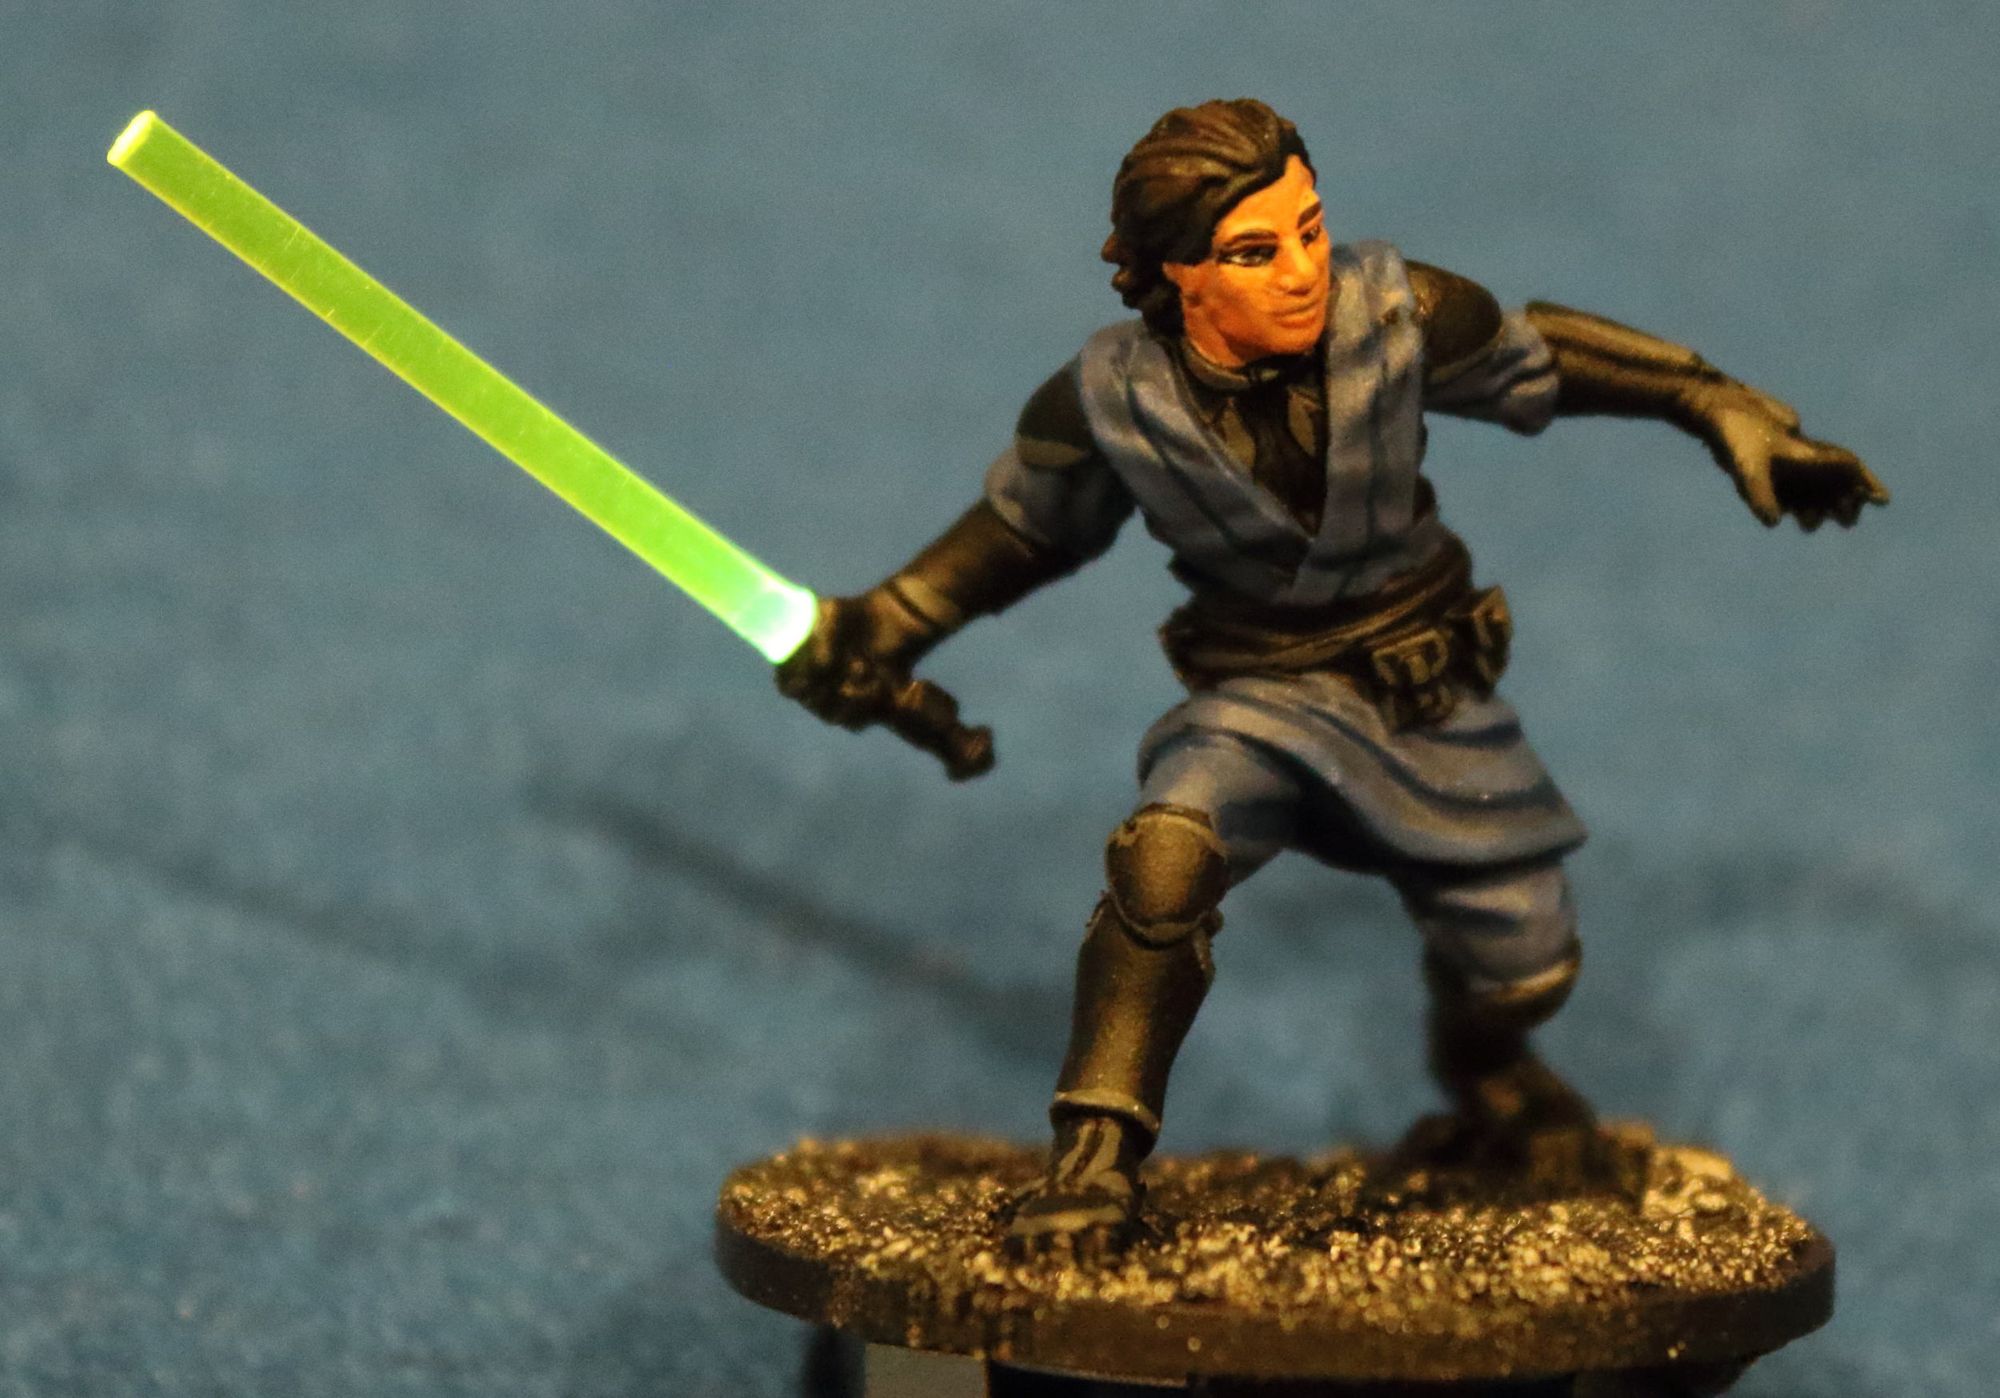
To finish off the miniature use Games Workshop or other “green stuff” moldable model putty to cover the exposed wiring and plug the holes where drilling made a mess. Now solder all the connections and test again. If you find the LED doesn’t light up, try flipping the battery over. After this final test is completed you can attach both Davith and the battery holder to the original miniature base.
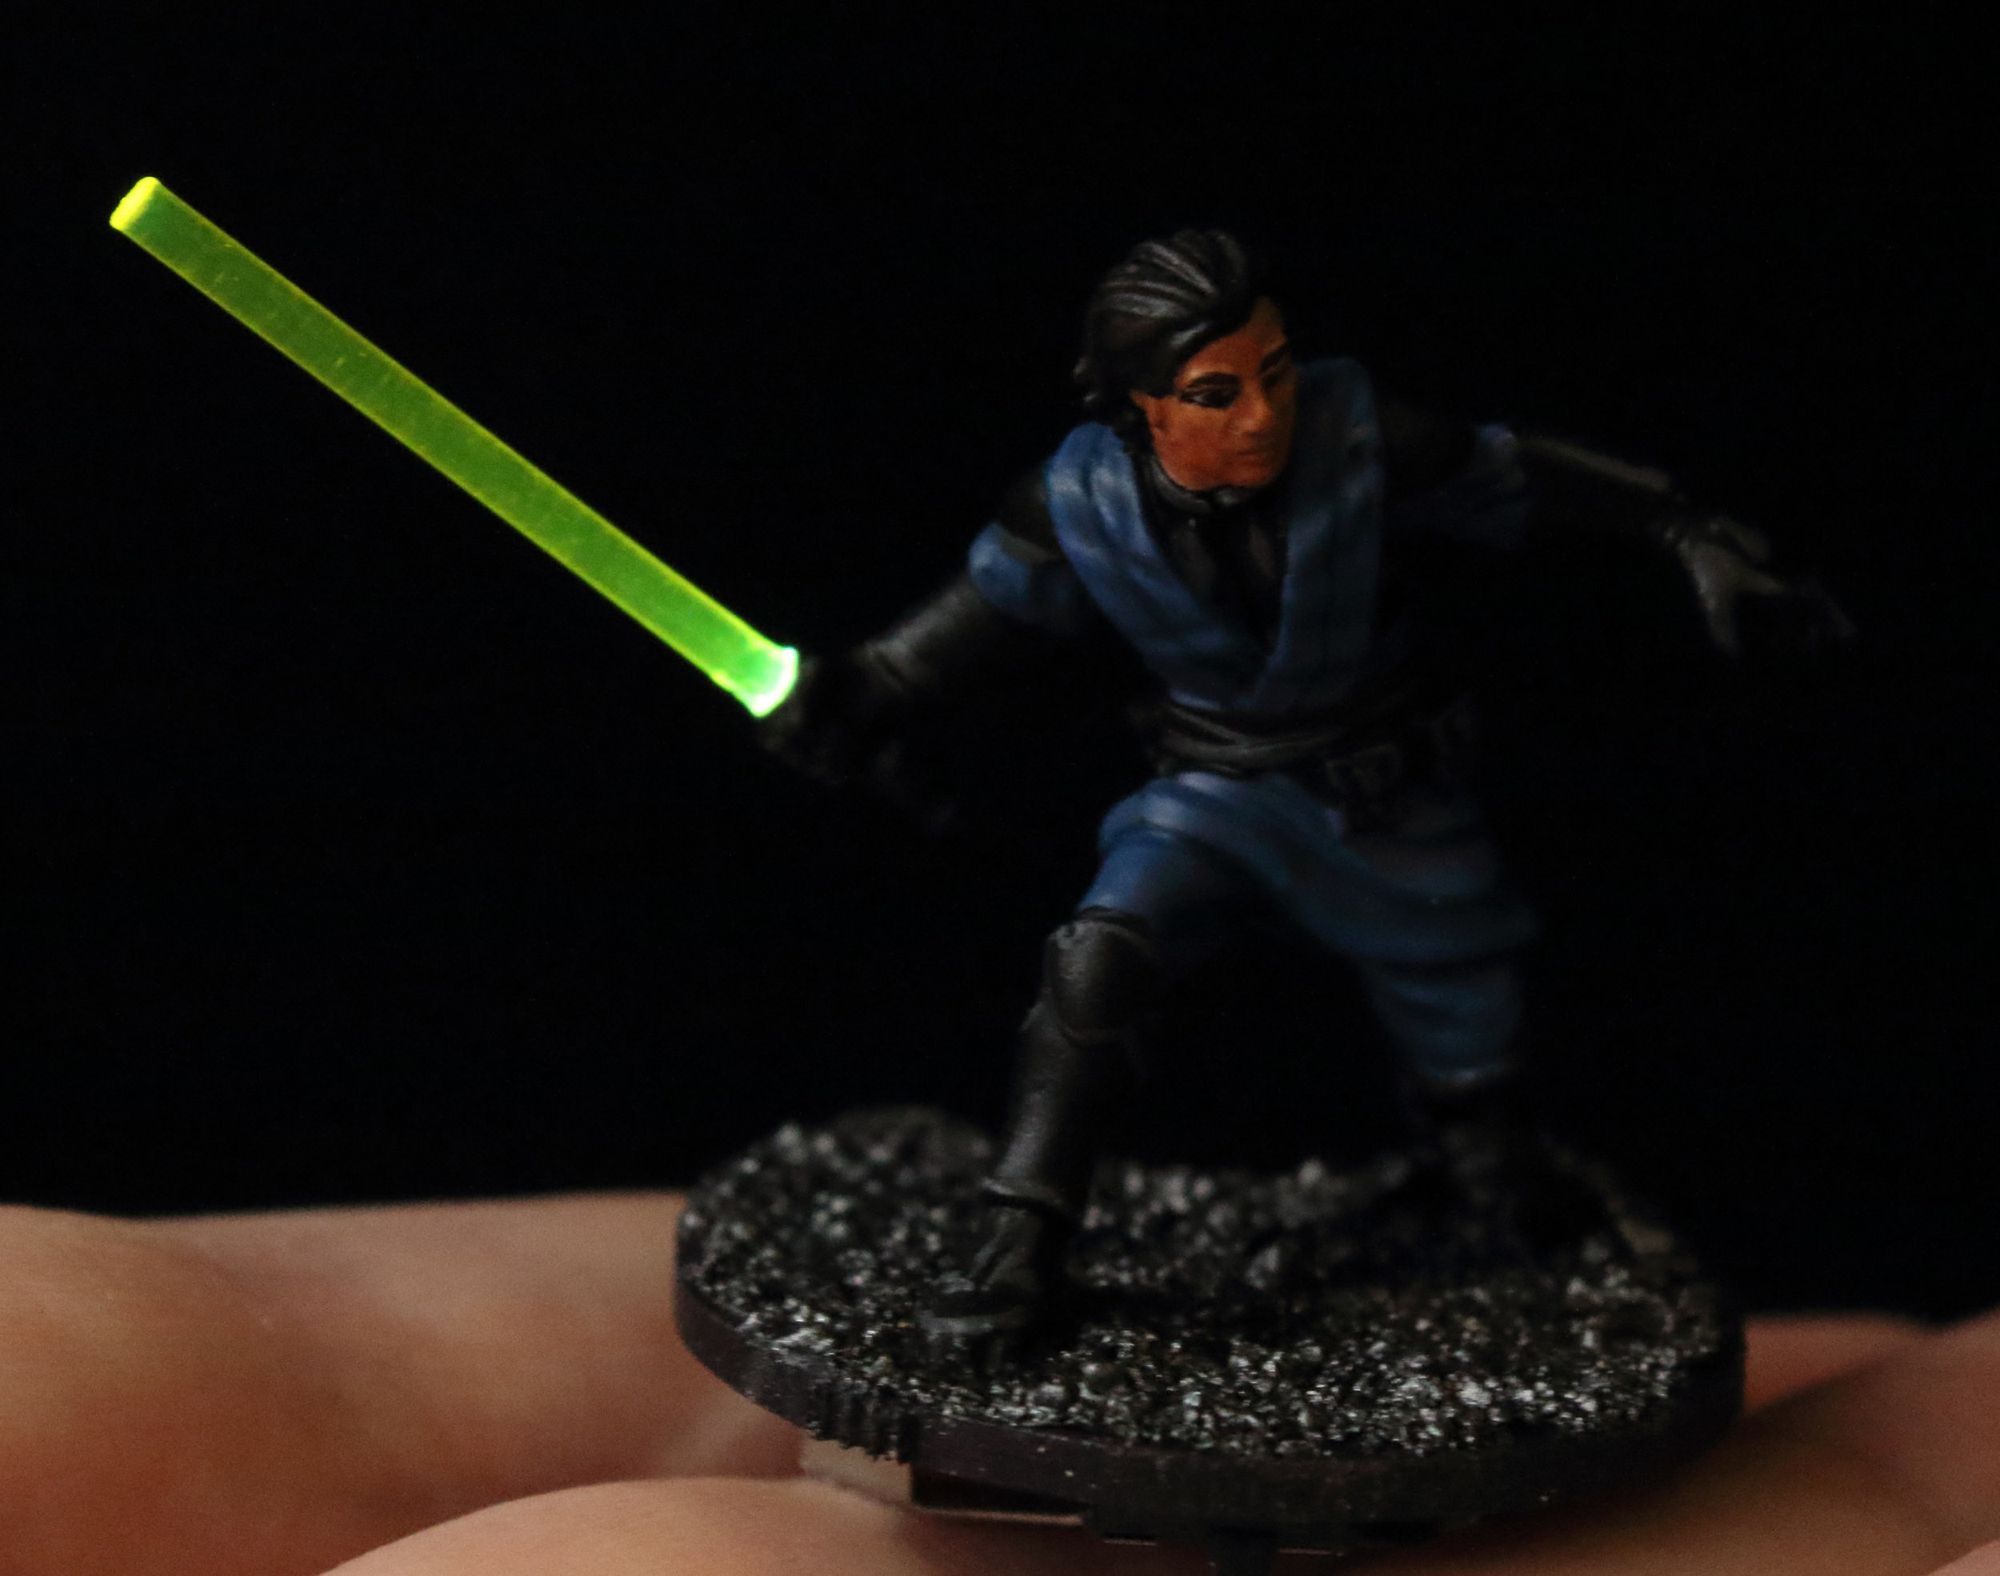
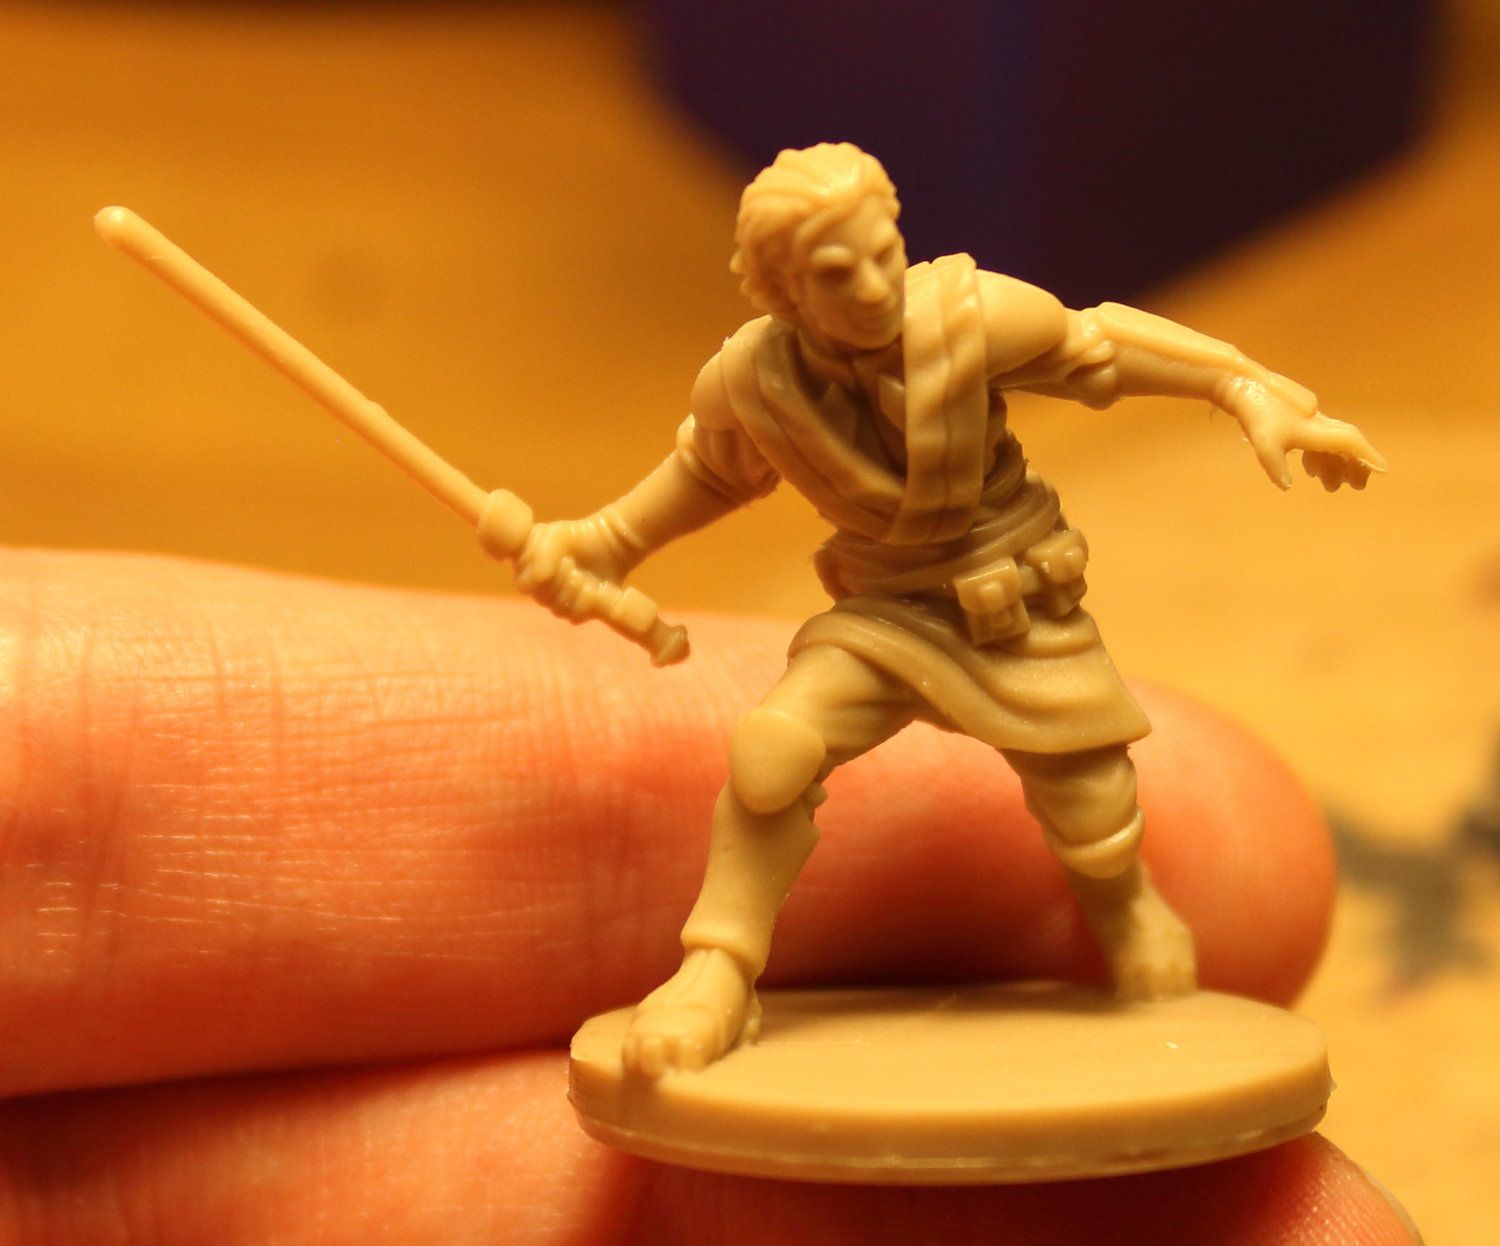
Finishing Touches
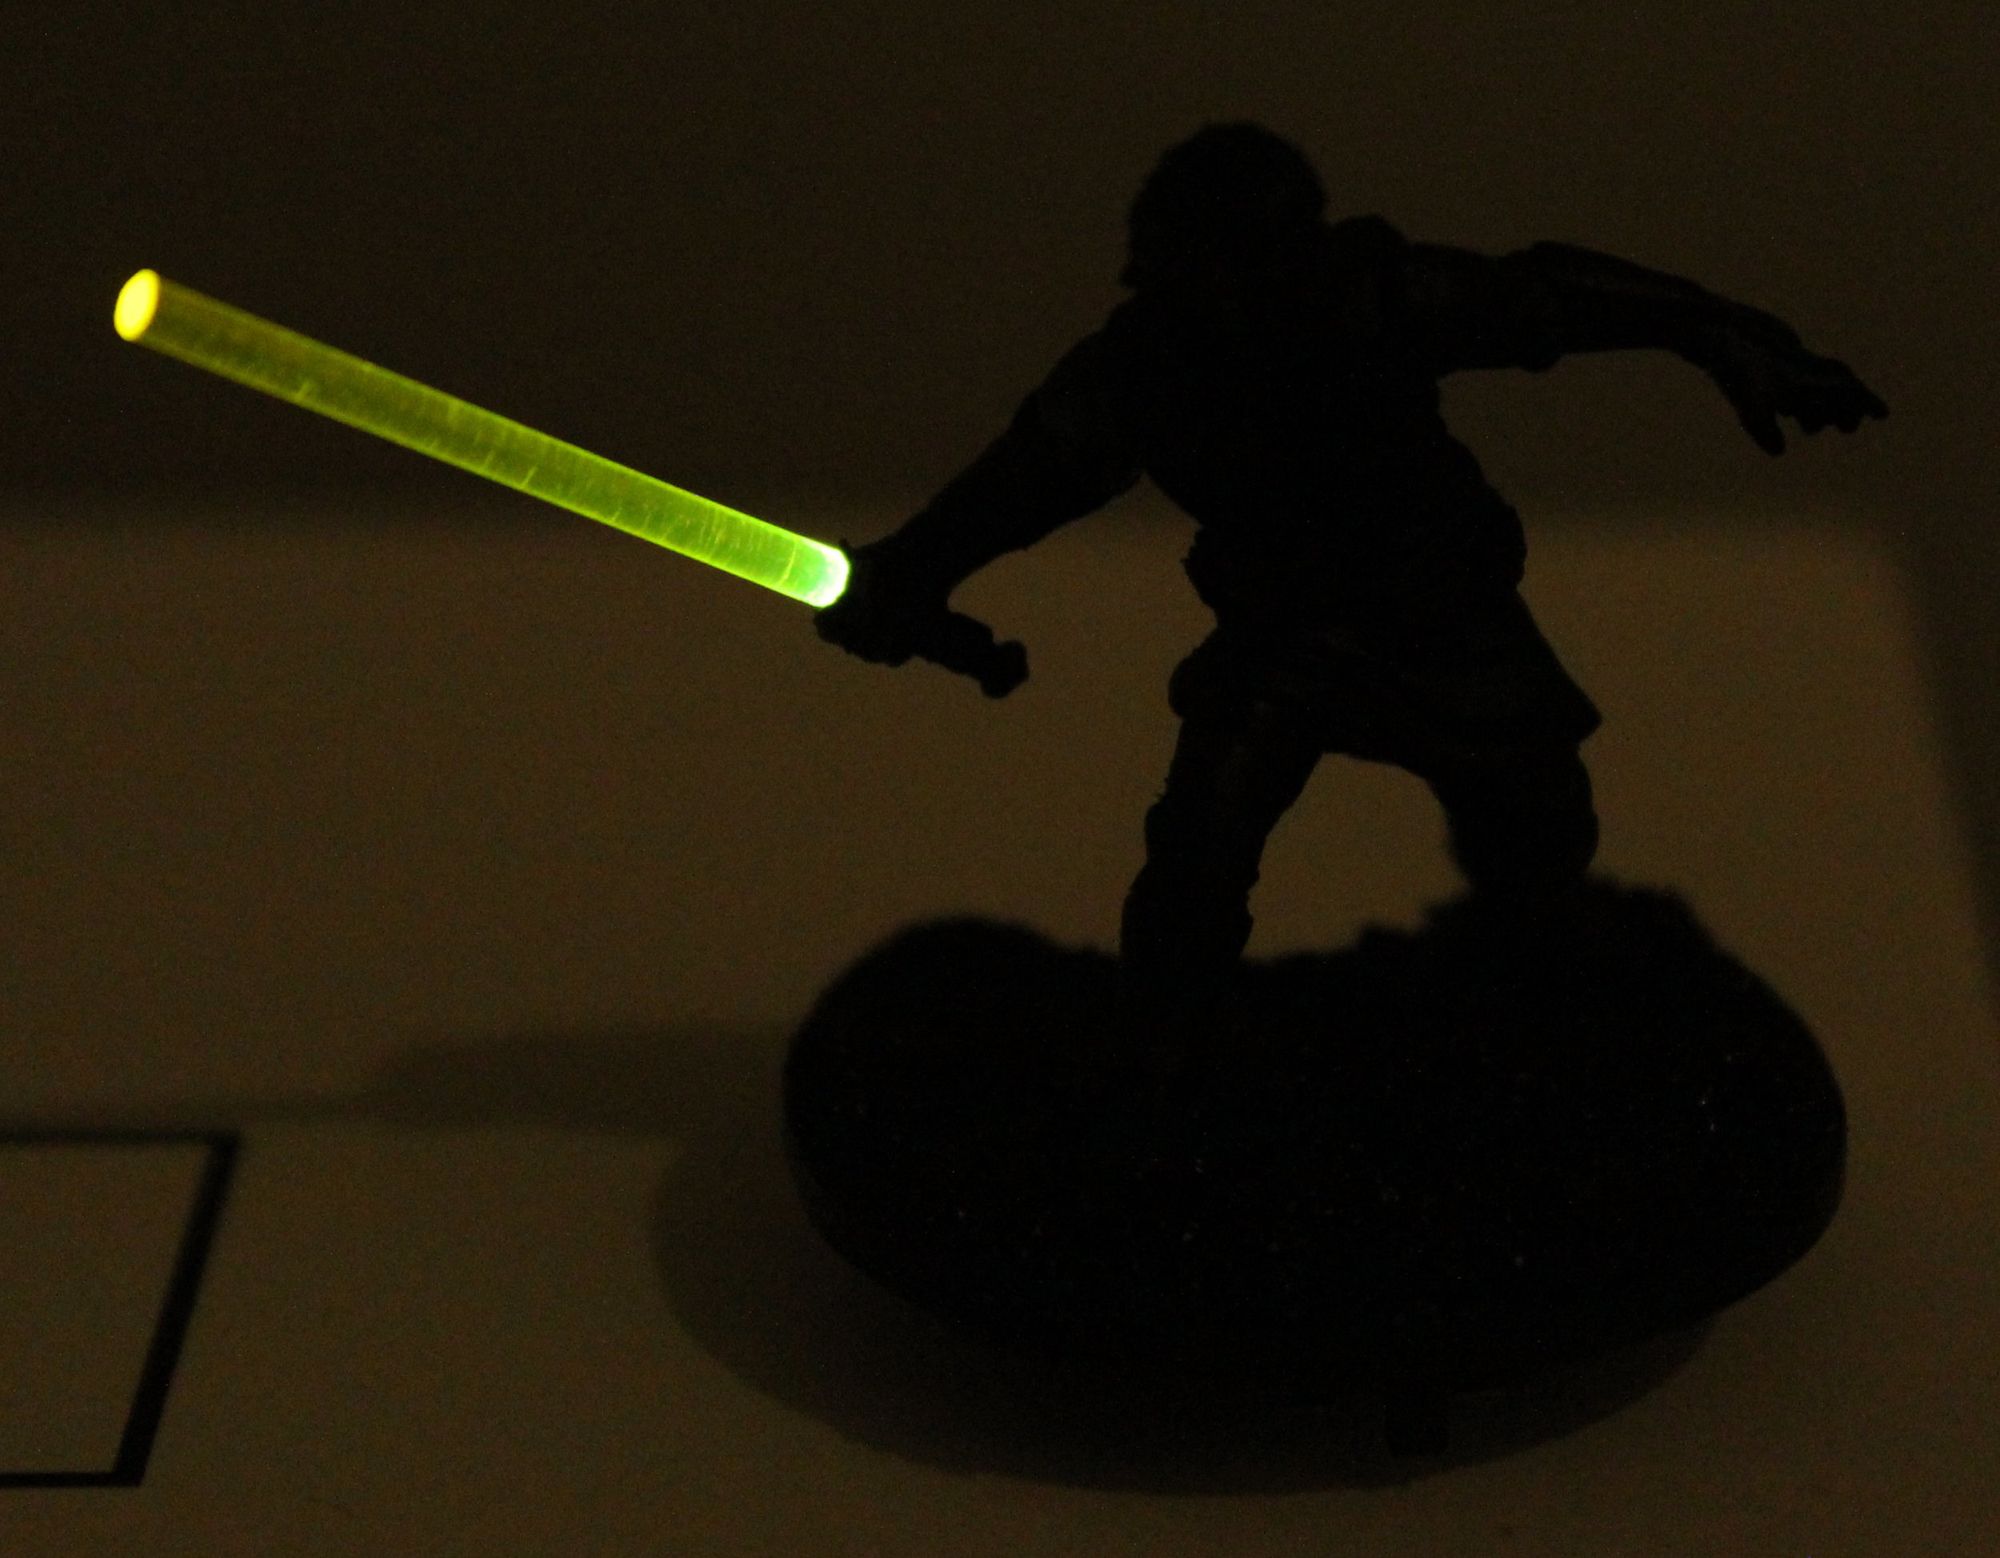
The finished product! It’s frustratingly hard to capture the awesome “glowiness” of the LED with a camera, but TenMinJoe assures us that it is a really great effect in person.